How to Fix Broken RC Car Body: Step-by-Step Repair Guide
Learn how to fix broken RC car body with cleaning, adhesive, and repainting tips for a durable, clean repair. Step-by-step guide included.
Start by deciding whether the body is a repair candidate
A scuffed 1/10 touring-car shell, a cracked 1/10 buggy cab, and a torn 1/8 monster-truck body need different expectations. This is appearance repair, not a promise that a battered shell will become race-ready structural plastic again.
If the shell is still largely in one piece, the mounting holes are usable, and the damaged area can be cleaned and supported, repair makes sense. A clean repair can hide a crack, stop ragged edges and give you a decent repaint base.
Do not assume the expensive body is automatically worth repairing. Current listed replacement prices run from $13 for a DEERC H16R body shell to $18.99 for a BlackZon Smyter DT body, so for those vehicle-specific shells, replacement may be simpler. [9][26]
At the other end, Go Fast Hobbies lists the MR Kustoms RoKKit SC Latemodel body at $95.99, Horizon Hobby lists a clear Losi 22S DLM body at $79.99, and Rovan lists its clear XLT monster-truck body kit at $124.99. Those prices are for bodies or kits, not a complete running vehicle. [8][11][12]
There are also cheaper clear-kit options where the right shell fits your chassis. RC Car Plaza lists Killerbody Corvette GT2 and 2011 Camaro body kits at €11.99 each, but those are road-car bodies, not a substitute for a short-course, buggy or monster-truck shell. [10]
That fit point matters. Do not buy a nicely priced touring body to “make work” on a 1/10 stadium truck, then cut away half its wheel arches and wonder why it looks wrong. Body posts, wheelbase, width and bumper clearance still dictate the choice.
No sourced comparison establishes the best method for very large missing sections or holes in RC polycarbonate. If material is gone rather than merely cracked, treat a repair as cosmetic experimentation and compare the cost against the correct replacement shell first.
Strip the shell and clean the damage properly
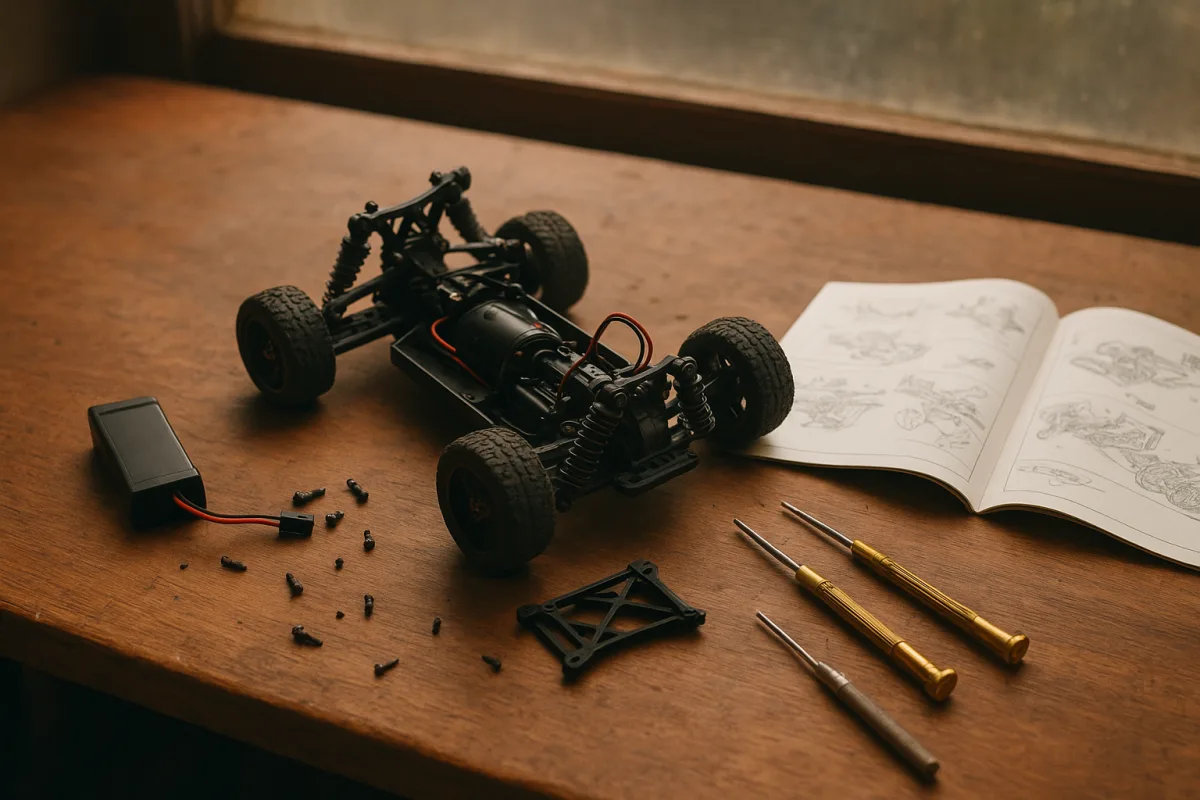
Take the body off the chassis before doing anything. Leaving it mounted invites glue on the shock towers, grime trapped around the repair, and a body that cures distorted because the chassis is holding it under load. [4][6]
Wash the complete shell with lukewarm water and mild soap, including the inside if you are repainting. Then dry it thoroughly with a microfiber cloth. Harsh cleaners, including acetone, brake cleaner, paint thinner and undiluted Simple Green, can damage painted surfaces or the plastic. [4][6][21]
This is the unglamorous step racers skip when they are trying to get a shell ready for the next heat. It is also where many failed cosmetic repairs begin, because tire dust, fuel residue, track dirt and finger oils interfere with adhesion.
Once dry, lightly abrade the repair area with fine sandpaper. The research brief specifies P80 and advises extending the scuffed zone two to four inches beyond the damage so the repair has a gradual visual transition rather than a hard, obvious edge. [7]
Clean every bit of sanding dust off before applying adhesive. Keep fingers off the cleaned inside surface if paint is going there, because skin oil can affect paint adhesion. [7][15]
P80 is the specific grit identified in the brief, but there is no evidence here that it is universally the best grit for every body thickness or every repair product. Follow the chosen adhesive’s preparation instructions if they call for something different.
Stop the crack without making the plastic uglier
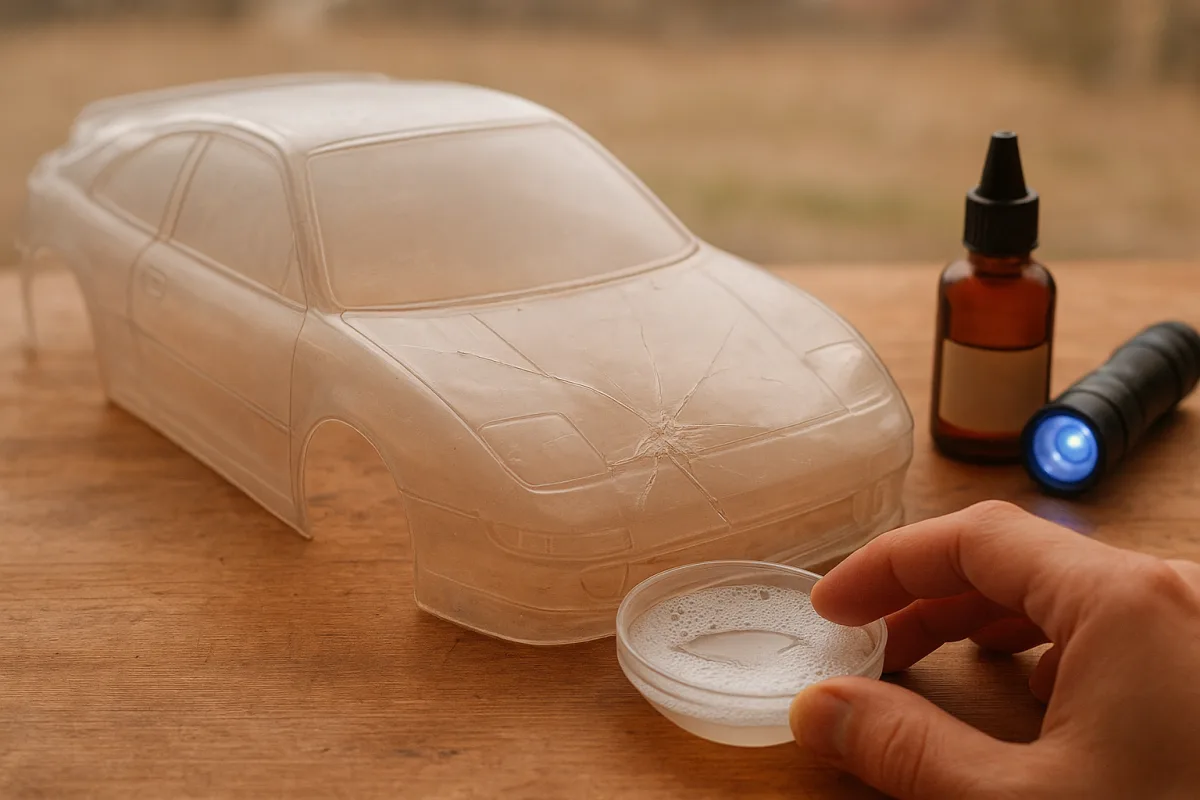
For clear Lexan, polycarbonate or similar RC body plastic, flexible UV-cure adhesives and flexible polymer adhesives are the sensible first categories. ORCA Body Reinforce & Repair glue is made for Lexan body work, while Loctite AA3103 is a light-cure acrylic formulated for polycarbonate bonding. [1][2]
The appeal is simple: a transparent, flexible bond is easier to hide than a brittle blob. UV-cure products such as ORCA Body Reinforce & Repair Glue, MR33 Magic Glue and Loctite AA3103 are intended to cure quickly under UV light, but use the curing process specified by that product. [1][2]
If you do not want UV curing, flexible polymer adhesives are another route. Deluxe Materials Body Armour Adhesive is specifically presented for damaged RC bodies, and Shoe Goo is another flexible adhesive category commonly used on polycarbonate. [3]
Apply only enough adhesive to wet and bridge the damage. A thick glue mound may look tough on the bench, but it telegraphs through a clear body and becomes a lump under fresh paint. Appearance is the goal here, so neat beats massive.
Avoid solvent-based adhesive on polycarbonate. Polycarbonate bonding guidance warns that solvent systems can create stress cracking, and a crack network around a repair is about the worst cosmetic result you can get from trying to fix one split. [23][24]
CA, or cyanoacrylate, is tempting because it grabs in seconds. It reaches full cure in about 24 hours, but CA around clear windows and clear body sections can bloom or fog, so it is a poor choice when the repair must stay visually clean. [22]
Epoxy and polyurethane can make strong bonds, but they are slower and are not automatically the prettier answer. Fast epoxy can set in around five minutes but generally needs 24 hours for full cure, while structural epoxy may take 20 to 30 minutes to set and 24 to 48 hours to cure. [23]
Polyurethane adhesives generally skin in roughly 35 minutes and cure at about four millimetres per 24 hours. RTV silicone skins in five to 10 minutes, can be handled in one to four hours, and may take 24 to 72 hours for full cure. [23][25]
Those times are planning numbers, not a green light to rush the shell back onto a car. Temperature, humidity and adhesive thickness affect cure time, and no RC-specific body-repair testing establishes ideal weather conditions. Check the product datasheet, especially in a cold garage. [23][25]
Make the repaired area disappear under paint
If the body was originally painted from the inside, repaint the inside. That keeps the colour protected behind the polycarbonate, which is why an internally painted 1/10 off-road shell can survive roost and rollovers better than an exterior-only finish. [15][18]
Use polycarbonate paint. Tamiya PS-series and Pactra paints are intended to adhere while the Lexan flexes. Regular hardware-store spray paint is not a shortcut here, because it can fail to bond properly and peel from the shell. [15][18][19]
Masking comes next, before paint. Use tape or liquid mask, press the edges down carefully and inspect them under good light. Poor masking produces paint bleed, and no amount of neat glue work matters if the repaired quarter panel has a fuzzy colour boundary. [16][17]
Shake the paint can for two minutes, then spray from six to eight inches away with light, even passes. Apply two or three thin coats, allowing the stated drying interval between them rather than trying to cover black glue marks in one heavy pass. [17][20]
The guidance varies slightly: one paint guide advises 20 to 30 minutes between coats, while another gives 10 to 15 minutes. That is a reminder to follow the paint manufacturer’s label rather than treating one interval as universal. [15][17]
After the final coat, allow several hours or overnight before handling the shell. Paint application guidance recommends a ventilated area around 65 to 85 degrees Fahrenheit, or 18 to 29 degrees Celsius, and warns against touching cleaned surfaces with bare hands. [15][19]
Do not skip the backing coat if your chosen colour system needs one. A backing coat improves vibrancy and durability, while missing it can leave the repair area looking thin, uneven or visibly different from the rest of the shell. [15][19]
Finish the edges and keep the repair looking decent
Once everything is fully cured, trim only loose, ragged material that catches on a tire or bumper. Do not keep cutting at a crack just to make it look tidy, because each unnecessary cut changes the body line and can expose more unpainted plastic.
Clean the body after driving rather than letting grit sit in scratches and around repair edges. RC maintenance guidance consistently places routine cleaning at the center of preventing accumulated dirt and further cosmetic wear. [4][6][21]
For a budget repair, the Ultimate Racing Lexan Body Repair Kit is listed at €10.95. MN Model RC repair tool kits are listed from $3.99 to $15.99, although the available pricing is only a 2026 snapshot and varies by retailer and region. [13][14]
Those kits suit the racer who already has a body worth saving and needs basic repair supplies, not someone trying to turn a shredded 1/8 basher shell into a pristine concours body. Compare their price with the exact replacement body for your platform.
Most ugly body repairs are not caused by needing another carbon-fiber brace, titanium screw kit or a premium shell. They come from glue applied to dirty plastic, a rushed cure, heavy paint, or the wrong paint chemistry. Sort those basics first.
Frequently Asked Questions
How do I repair cracks in my RC car body?
Start by removing the body from the chassis and washing it thoroughly with mild soap and lukewarm water. Dry it completely, then lightly scuff the damaged area with fine-grit sandpaper to create a good bonding surface. Use a flexible adhesive suitable for polycarbonate, such as a UV-cure or flexible polymer adhesive, to bond the crack and allow it to fully cure before handling or painting.
What adhesive is best for fixing a broken RC car shell?
Flexible adhesives like UV-curing glues (e.g., ORCA Body Reinforce & Repair Glue) or flexible polymer adhesives (e.g., Deluxe Materials Body Armour Adhesive) are recommended for polycarbonate RC bodies. Avoid solvent-based adhesives as they can cause stress cracks. Epoxies and silicones can also be used but require longer curing times.
Can I repaint a repaired RC car body?
Yes, repaint the inside of the shell using polycarbonate-specific paints such as Tamiya PS or Pactra. Apply several light coats to ensure flexibility and adhesion. Ordinary spray paints are not recommended because they tend to peel off due to lack of flexibility.
When should I replace instead of repair an RC car body?
Consider replacement if the shell is badly torn, missing large sections, or if mounting holes are damaged beyond repair. Also, compare repair time and cost to replacement prices, which vary widely depending on the model—from about $13 for basic shells to over $120 for high-end bodies. Replacement may be simpler and more cost-effective for severely damaged or inexpensive bodies.
How do I prepare an RC car body for repair and painting?
Remove the body from the chassis and wash it with lukewarm water and mild soap, including the inside if repainting. Dry it thoroughly with a microfiber cloth. Lightly sand the repair area with fine-grit sandpaper to remove gloss and create a rough surface for better adhesion. Clean off sanding dust before applying adhesive or paint.
How we researched this
This article was assembled from 26 cited references.
Nothing here is based on hands-on testing. Where a figure or finding appears, it belongs to the source cited beside it, and the writing says so rather than implying otherwise. Every source is listed below so you can check it.
Sources
- ORCA Body Reinforce & Repair UV Glue – Lexan RC Body Glue
- Loctite AA3103 - Light-Cure Acrylic Adhesive, Polycarbonate Bonding | TEquipment
- Battle Body Breakage - Deluxe Materials Body Armour Adhesive - RC Driver
- RC Car Maintenance and Cleaning: A Beginner's Guide – RC Models Hub
- Essential Do's and Don'ts for Successful Plastic Bumper Repairs | Fender Bender
- How To Clean Your RC Car: Complete Guide with Pro Tips | EuroRC.com
- Light Body Repair | SOPs | Refinish
- MR Kustoms RC Bodies 2026 RoKKit SC Latemodel Body, MRK2003L – Go Fast Hobbies
- BlackZon - Smyter DT Body (Black/Green) - RC Car & Truck Replacement Parts — OEM Spares for Traxxas, ARRMA, Axial & Losi
- Body Kits & Chassis - RC Car Plaza
- Rovan XLT Monster Truck Body Kit (Clear-Unpainted) - Rovan RC
- RC Cars & Trucks Bodies | Horizon Hobby
- Ultimate Racing Lexan Body Repair Kit - UR6402-2 - MK Racing RC Car Shop
- RC Car Repair Tool Kits
- RC Car Paint Guide: How to Paint Polycarbonate Bodies | Speed World Raceway
- How to Paint an RC Car Body with Liquid Mask: Step-by-Step Guide | EuroRC.com
- How do you spray a body for an RC car?
- BODY MAKING GUIDE | PANDORA RC - Drift RC Car bodies & Parts
- RC Body Paint: The Complete Guide to Finishing Your RC Car
- How To Spray Paint RC Car Bodies Cleanly and Evenly – RaceNRCs
- How to Clean Your RC Car: Complete Maintenance Guide - RC Tech Tips
- CA Glue for RC Cars and Model Building: Instant Repairs, Gap Filling, — Gluemasters
- How to Glue Plastic Sheets: Adhesives for Acrylic, HDPE, Polycarbonate | Pro Plastics Inc
- Bonding polycarbonate without stress cracks
- Soudal Fix ALL TurboTack High Tack Adhesive | Platinum Chemicals
- DEERC H16R RC Car Body Shell Replacement (1601M3)