
How to Upgrade RC Car Motor
Learn how to upgrade your RC car motor with the right KV, ESC matching, and installation tips for better power and performance.
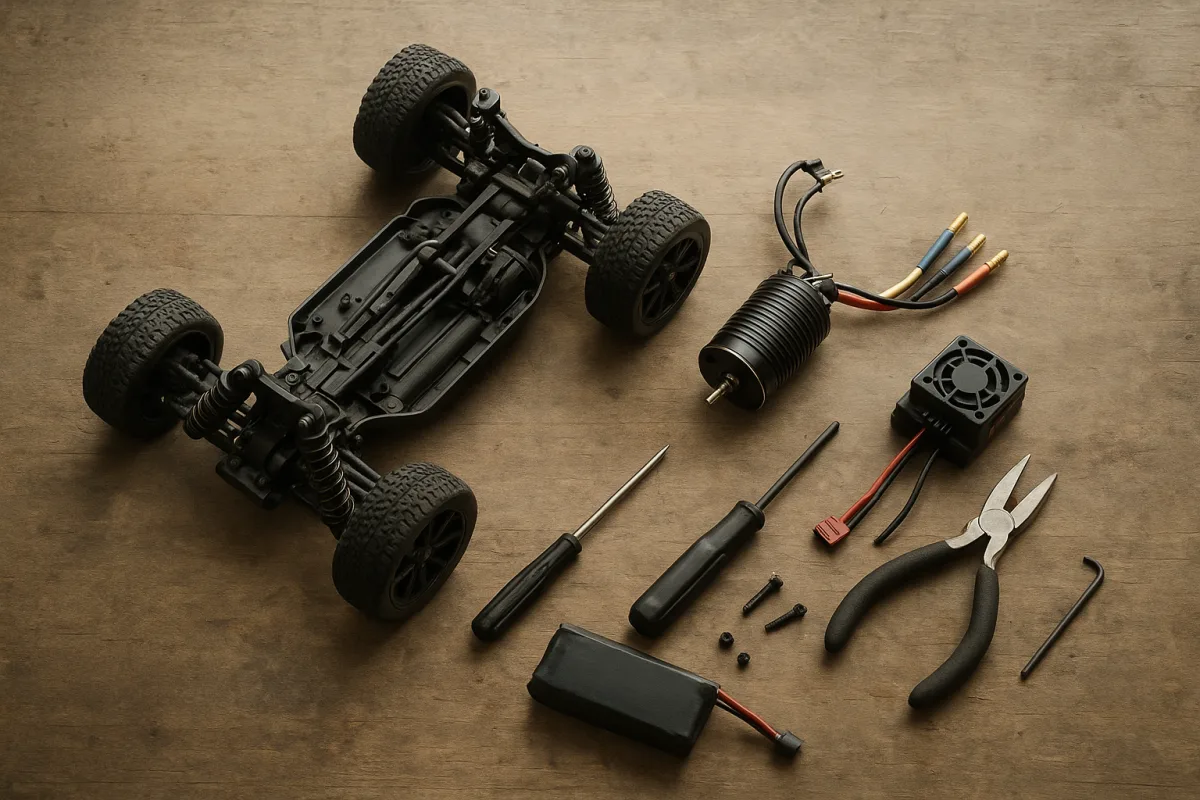
Start by defining what “more power” means for your car
When somebody says their RC needs a motor upgrade, they usually mean one of three things: more punch out of corners, more top speed, or enough power to pull taller gearing. Those are related, but they are not the same setup.
For a 1/10 buggy on a loose dirt track, I would prioritize controllable torque and temperature margin. For a 1/10 touring car, speed-run chassis or drift car, higher motor RPM may be the actual target. A 1/8 truggy is a different load again, so do not copy 1/10 motor advice blindly.
The established 1/10 starting point is a 540-size brushless inrunner, normally 36mm in diameter and 53mm long. That is the common format for adding meaningful electric power without treating the car like an experimental fabrication project. [3][11]
Brushless is the sensible route because it gives stronger, more efficient power delivery than a typical brushed system. It also puts more responsibility on the rest of the drivetrain and electronics, which is where many “motor problems” actually begin. [3][11]
Before ordering anything, look at the pinion, spur, differential condition, driveshafts and bearings. If the car already has a slipping slipper clutch, leaking diff or rough bearings, a stronger motor will mostly convert those faults into heat and broken parts.
Pick KV for voltage, scale and surface
KV means RPM per volt with no load. More KV raises potential RPM, while lower KV generally trades some of that RPM for torque and control. It is not a direct horsepower rating, and the highest KV number is rarely the automatic upgrade. [4][16]
The usable KV range changes with battery voltage. On a 2S LiPo, or 7.4V nominal, the published range is broadly 4000 to 6800KV. On 3S, 11.1V nominal, it drops to roughly 2500 to 4500KV. A 4S system generally belongs around 1500 to 3500KV. [1][3]
That overlap is important. RC Cars Guide puts 4000 to 6000KV in the on-road speed-run conversation, while RCexplained extends 2S guidance to 6800KV. Neither figure makes a universal winner because vehicle weight, gearing, tyre diameter and intended use all change the answer. [1][3]
For a 1/10 2WD or 4WD buggy, stadium truck or short-course truck running off-road, stay toward the lower part of the appropriate range if you want driveability. Loose surfaces do not reward a motor that instantly spins the tyres and unloads the rear suspension.
For a 1/10 touring car or on-road speed-run build on 2S, a higher-KV motor can make sense if the chassis is stable, the drivetrain is free and the ESC can take the current. The catch is that tall gearing and high KV compound temperature problems quickly.
If you prefer turn ratings, remember that turns run opposite to KV. A 10.5T motor is a higher-RPM, more aggressive option than a 17.5T motor. Do not see a lower turn count as a free performance upgrade, because it also increases the demand on the ESC, battery and gearing. [11]
A 1/10 racer moving from a mild 17.5T-style setup to a 10.5T-style setup should expect the car to need more than a motor swap. Brake feel, throttle curve, differential action and rear grip may all need attention before the extra RPM becomes usable lap speed.
Do not bolt in the motor until the ESC checks out
The motor is only one part of the power system. Your ESC must support the battery voltage you plan to run, and its current capability should be at least 20 to 30 percent above the motor’s expected peak current. [10][11]
That margin matters because full-throttle acceleration, heavy grass, a too-tall pinion or a binding drivetrain can pull far more current than a bench test suggests. An underrated ESC can overheat, shut down or fail before the new motor has shown what it can do.
There is no research-backed basis here for naming one perfect ESC brand or model for every motor. Match specifications instead: battery cell-count rating, current margin, connector condition and the motor type the controller is designed to run. [10][11]
Once installed, calibrate throttle endpoints before the first hard run. Then set the LiPo low-voltage cutoff correctly, because a power upgrade is no excuse to over-discharge a pack. ESC programming guides specifically identify throttle calibration, timing and cutoff voltage as major setup items. [12]
Motor timing is not a knob to turn just because the car feels slow. More timing can increase RPM, but it also adds heat and electrical load. Establish a cool baseline setup first, then make one timing change at a time and watch temperatures. [12][13]
A softer throttle curve can make a high-power 1/10 buggy faster in practice. It stops the car from lighting up the rear tyres every time you squeeze the trigger, and it gives the suspension a chance to work rather than skating across the surface.
Give the new motor a battery that can feed it
Voltage is the big lever. Moving from 2S to 3S raises motor RPM, but only when the motor and ESC are specifically rated for 3S. Connecting a bigger pack to an unsuitable system is not tuning, it is an expensive smoke test. [8][11]
For a typical 1/10 car, 5000mAh is a common capacity reference point. More capacity can extend runtime, but it also adds mass, which affects acceleration, chassis balance and how quickly the car changes direction. Larger scales can justify larger packs. [8][9]
C-rating deserves some skepticism. Manufacturers state C-ratings differently, and there is no guarantee that two packs with the same printed number will deliver the same real-world current. Treat the rating as a comparison clue, not a certified performance measurement. [8][9]
Watch for voltage sag, hot connectors and a battery that comes off the car unusually warm. Those signs point to a pack, connector, wiring or gearing combination that is struggling. Upgrading wire and repairing tired plugs can be more useful than buying an even higher-KV motor. [15]
Cold weather also changes the tune. Batteries and motors produce less useful performance in the cold, while hot conditions make overheating more likely. Do not assume the gearing that survived a winter parking-lot run will be safe on a hot summer track. [8][13]
Humidity is worth managing for corrosion and storage, but the available research does not establish a specific humidity-to-power-loss figure. Keep connectors clean and dry, but do not chase imaginary motor-output changes with random gearing adjustments.
Gear down first, then earn taller gearing
The first run after a motor upgrade should use conservative gearing. In practical terms, that means a smaller pinion or larger spur than the maximum-speed setup you eventually want. Lower gearing reduces load and gives you a safer temperature baseline. [13][14]
Run for a few minutes, stop, and check motor, ESC and battery temperatures. Repeat under the actual load that matters, whether that is repeated jumps with a 1/10 buggy, a full-throttle straight with a touring car, or grass running with a truck. [13][18]
If the motor is too hot, do not immediately buy a fan, bigger battery or metal upgrade. First reduce gearing, inspect drivetrain drag and check that the slipper clutch and differentials are behaving. Overheating is often a setup problem before it is a parts problem. [13]
Improving airflow and adding cooling can help, particularly in enclosed 1/10 chassis tubs, but fans are not permission to overgear. Cobra Racing’s cooling guidance makes the useful point that cooling supports a sensible load, rather than replacing one. [14]
Pay attention to wiring too. Hot or softening motor wires and connectors are warnings that the electrical path is being overstressed. A powerful brushless setup with poor solder joints or undersized wiring wastes energy as heat and risks failure. [15]
Expect the chassis to need tuning, not just horsepower
More motor power can make a car feel worse before it feels faster. A 1/10 buggy that squats, wheelspins and pushes wide under throttle may need a differential, shock or tyre adjustment more than another motor upgrade.
Start with the differential because it decides how the added power reaches the tyres. If the rear diff unloads too easily, the inside tyre can spin away acceleration. If it is too locked, the car may rotate poorly or become difficult on rough surfaces.
Then look at the shocks. Extra acceleration can expose rear-end squat and traction roll that were hidden with a mild motor. Change shock oil, springs or ride height methodically, one adjustment at a time, rather than replacing every suspension part after one bad run.
The expensive aluminium option is usually not the fix for a power-induced handling problem. A correct pinion, cool electronics, sensible diff fluid and predictable throttle curve will normally do more for consistency than adding weight and rigidity at random.
Set a realistic budget for the power level
The 2026 price spread is wide. A Surpass Hobby 3650 Platinum Series 3900KV brushless motor is listed at roughly $20, while a Hobbywing EZRun 70125SD 560KV motor reaches roughly $570. Those figures are motor prices, not complete conversion costs. [2][5]
The low-cost Surpass Hobby 3650 Platinum Series 3900KV suits a budget-minded 1/10 brushless project on sensible voltage and gearing. At 3900KV, it is not the obvious choice for an all-out 2S speed-run build, but it is within a usable range for controlled general running. [5]
The Hobbywing EZRun 70125SD 560KV is a very different category, with a low KV aimed at high-voltage, larger-scale applications rather than a normal 1/10 2S car. Its $570 price is a reminder that motor cost scales far beyond what most club-level 1/10 upgrades require. [2]
BeachRC lists the Reedy Sonic 540-M3 Modified 7.0T, a 540-format modified motor that suits an aggressive 1/10 competition-style power target, but the supplied research does not establish a price. A 7.0T motor also demands careful ESC, battery and gearing selection. [6][11]
RC Superstore lists the Traxxas Velineon VXL-3s motor-and-ESC set, which suits a buyer replacing both motor and controller in a 3S-capable system. The research brief does not provide a price, so it would be misleading to invent one or compare sticker costs directly. [7]
Factor in the parts the motor price does not include: an ESC if yours lacks current or voltage capacity, a suitable LiPo, connectors, wiring, cooling, pinions and potentially drivetrain repairs. The cheapest motor becomes costly if it cooks an unsuitable ESC on the first pack.
Frequently Asked Questions
What motor size and KV should I choose to upgrade my 1/10 RC car?
For a 1/10 electric car, the standard upgrade is a 540-size brushless inrunner motor (36 mm diameter, 53 mm length). The KV rating depends on your battery voltage and driving surface: for 2S LiPo (7.4V), choose between 4000 and 6800 KV; for 3S LiPo (11.1V), 2500 to 4500 KV is typical. Lower KV motors provide more torque and control for off-road use, while higher KV suits on-road speed.
How do I match an ESC to a new upgraded RC car motor?
Select an ESC rated at least 20 to 30 percent above the motor's expected peak current and ensure it supports your planned LiPo battery cell count. The ESC voltage rating must match the battery voltage (e.g., 2S, 3S). Proper ESC setup includes calibrating throttle, adjusting motor timing, and setting LiPo cutoff voltage for safe operation.
What are the steps to safely install a brushless motor in an RC car?
Before installing, inspect the drivetrain components like pinion, spur gear, differentials, driveshafts, and bearings for wear or damage, as a stronger motor can exacerbate existing faults. Confirm the ESC and battery are compatible and properly rated. After installation, monitor temperatures and adjust gearing conservatively to avoid overheating and mechanical stress.
How can I prevent overheating after upgrading my RC car motor?
Start with conservative gearing and check motor, ESC, and battery temperatures during use. Improve airflow around components if possible. If temperatures rise too high, reduce gearing or throttle aggressiveness. Overheating risks increase with higher KV motors and taller gearing, so balancing these factors is key.
What gearing changes are needed after upgrading an RC car motor?
After upgrading, gear more conservatively than you might expect. Higher KV motors and stronger power output can quickly cause overheating and mechanical wear if gearing is too tall. Adjust gearing gradually while monitoring temperatures and drivetrain stress to find a safe balance between speed and reliability.
How we researched this
This article was assembled from 18 cited references.
Nothing here is based on hands-on testing. Where a figure or finding appears, it belongs to the source cited beside it, and the writing says so rather than implying otherwise. Every source is listed below so you can check it.
Sources
- RC Drift Motor & ESC Guide: Best Combos at Every Budget (2026) | RC Cars Guide
- Best Brushless Motors For Rc Cars - 2026 Reviews - Majesty Racing
- Brushless RC Cars - RCexplained
- What Does KV Mean on an RC Car? | RC Setup Lab
- Brushless Motor Surpass-Hobby 3650 Platinum Series 3900kv for RC Cars
- Reedy Sonic 540-M3 Modified Brushless Motor (7.0T) - BeachRC.com
- Traxxas Velineon VXL-3s Brushless Motor & ESC Set
- RC Batteries Explained: The Complete Guide for RC Enthusiasts | EuroRC.com
- How to Choose LiPo Batteries for RC Racing | Speed World Raceway
- ESC Selection Guide for RC Cars - Matching Speed Controllers to Motors – DigitalRc.ca
- RC Motors & ESCs – Complete Guide for Beginners and Upgraders | TECH1RC
- ESC Programming & Setup Guide for RC Cars | MinutesofThunder
- Overheating RC Motor? Here’s What to Do. -
- RC Motor Cooling Explained: Why Fans Matter More Than Power - Cobra Racing
- RC motor wires getting hot / melting – Radio Control Tips
- RC Model Shop | What Motor KV Means in RC Models
- Range of Brushless Motors for RC Cars or Trucks.
- How to Tell If Your RC Motor Is Overheating Before It Fails | Gearhead's Gazette | Hobby Etc
Related Articles
Upgrade RC Car Speed Controller: How to Choose and Install
Learn how to upgrade your RC car speed controller with tips on matching ESC to motor, battery, and calibration for better performance.
Common RC Car Motor Mistakes: KV, Battery & Setup Tips
Learn common RC car motor mistakes including KV misunderstandings, battery matching, and setup tips to avoid overheating and poor performance.
What Size Motor for RC Car: Choosing the Right Can and KV
Learn what size motor fits your RC car scale and how to match KV rating for optimal performance and reliability.
How to Set Up RC Car for Beginners: Complete Starter Guide
Learn how to set up your RC car for beginners with tips on battery, tires, suspension, and motor for a smooth first drive.