
Repair Lexan RC Car Body Cracks: Stop and Fix Cracks Right
Learn how to repair Lexan RC car body cracks using flexible glue, stop cracks from spreading, and reinforce damaged areas for lasting fixes.
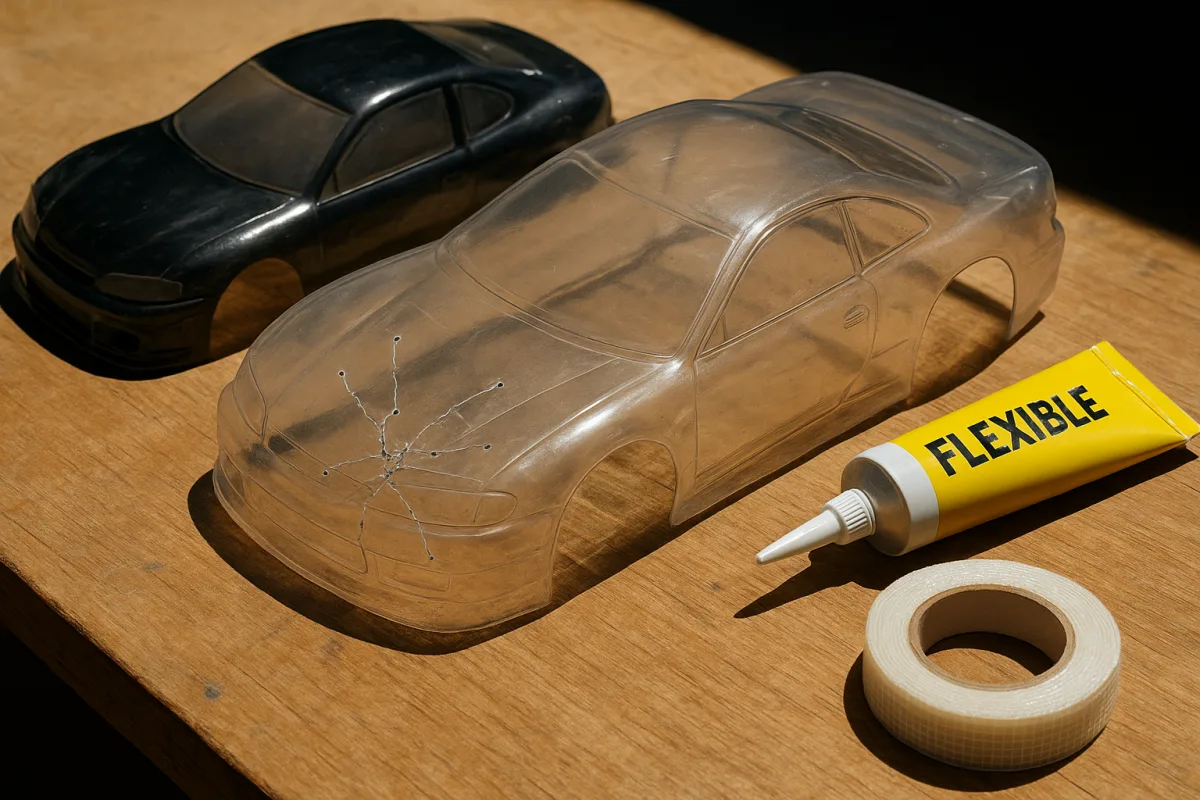
How to Fix RC Car Body Damage and Make It Look Right Again
Start by deciding whether the shell is worth repairing
A body can look pretty rough and still be a good restoration candidate. Scuffed paint, split wheel wells, torn body-post holes, and small punctures are normal race-shell damage. A crushed roof or a shell missing large sections is usually a different job.
Check what plastic you actually have before reaching for a glue bottle. Most clear competition bodies for 1/10 buggy, SCT, touring car, 1/8 buggy, and truggy use polycarbonate, commonly called Lexan. Replacement shells generally range from about 0.8 mm to 1.6 mm thick. [14]
The thinner end of that range saves weight, which matters on a 1/10 buggy or touring car, but it also flexes more around the rear wheel arches and body mounts. A thicker 1/8 truggy shell can take larger hits, yet it still needs a flexible repair. [14]
If the damage is only paint-deep, do not start cutting or gluing. Wash the body first and inspect it under good light. Dirt packed into a scrape can make a surface scuff look like a crack.
Remove the shell and clean the damaged area properly
Take the body off the chassis before repairing it. Trying to patch a shell while it is still sitting over a 2S shorty pack, 4S tray, receiver box, wing mount, and shock towers is how glue ends up where it should not.
Wash the damaged section with mild soap and water, then dry it fully. The repair area needs to be free of track dust, tire sauce, oily fingerprints, and loose paint before adhesive goes on. [1][2]
For a crack repair, lightly sand the inside of the shell around the damage with 220-grit paper. You are not trying to thin the Lexan or sand a huge flat patch. You only need enough abrasion for the adhesive to key into. [2][15]
Brush or wipe away the sanding dust before applying glue. If dust stays in the repair, the adhesive is bonding to loose debris rather than the body. That is the sort of small prep miss that turns a tidy repair into a flap after two heats.
Stop a crack before it grows across the body
A crack around a wheel opening or body-post hole rarely stays the same length. The shell flexes every time the chassis lands, rubs a tire, or gets caught in a pipe. That repeated flex concentrates stress at the crack tip.
Drill a small stop hole at the end of the crack before gluing it. RC Car Action specifically recommends this approach for stopping Lexan body cracks, and it is particularly useful at wheel wells. [3]
Use the smallest bit that cleanly removes the sharp crack tip. A rough, jagged end gives the split another place to start. Do not turn the repair into a giant hole just because the drill bit was the first one on the bench.
For a body-post hole that has started splitting outward, drill the crack end first, then reinforce the whole mounting area. A clean shell is no good if it tears off the posts during the first hard landing.
Use flexible glue on polycarbonate, not brittle instant glue
This is the main material choice. Polycarbonate bodies flex, so the repair needs to flex with them. Shoo Goo, E6000, and ORCA Body Reinforce & Repair Glue are all recommended as flexible options for Lexan-style shells. [1][2][15]
CA glue can look tempting because it sets quickly, but it is a poor match for a body that bends constantly. A rigid glue line can crack or release when the shell twists, especially around front fenders, rear arches, and wing-mount areas. [1][2]
Apply adhesive from the inside whenever possible. That keeps the outside surface cleaner, protects the repair from direct abrasion, and gives you a better chance of restoring the visible finish afterward.
For a short crack, work adhesive into the split and spread a thin patch beyond both sides of the damage. Do not pile on a heavy lump. Excess glue adds weight high on the car and looks rough if it squeezes through the crack.
The sources do not provide a reliable head-to-head price comparison for Shoo Goo, E6000, and ORCA glue, so there is no honest basis for declaring one the bargain winner. The useful distinction is flexibility, which is what a polycarbonate shell needs. [1][2][15]
Reinforce long splits, punctures, and torn mounting areas
Once a crack gets long, adhesive alone is usually not enough for a durable appearance repair. Fiberglass drywall tape, embedded in flexible adhesive on the inside of the shell, gives the repair more structure without making it completely rigid. [2][15]
Cut the tape with rounded corners. Sharp square corners can lift, catch dirt, or create a new stress point. Make the patch large enough to bridge undamaged plastic on every side of the crack.
Lay down a thin adhesive coat, press the tape into it, then add enough adhesive to wet the tape thoroughly. You should still be able to see the weave. If the patch is a thick rubber mound, it will look untidy and may interfere with the chassis.
For a puncture, trim away only loose, curled plastic with Lexan scissors or a sharp hobby knife. Keep as much original shell material as possible. A clean-edged hole is easier to bridge than torn material that keeps moving. [1][2]
A large missing section can be backed with a piece of spare polycarbonate, then taped and glued from the inside. The brief supports flexible adhesive and fiberglass reinforcement, but does not establish a single best patch shape or thickness, so keep the patch practical and clear of tires, shock towers, and electronics. [2][15]
Do not confuse ABS repair methods with Lexan repair methods
Plastic welding with a soldering iron and zip-tie filler is a repair method for ABS bodies and similar rigid plastics. It is not the preferred method for polycarbonate RC shells. [8][15]
That distinction matters on scale rigs, toy-grade shells, and certain hard-body projects. If the body is ABS, a soldering iron can melt and blend plastic at the break. Use ventilation and work carefully, because overheating can distort the panel. [8]
Do not take that method straight to a clear Lexan racing body just because both are called plastic. On polycarbonate, flexible adhesive and reinforcement are the supported approach. [1][2]
Tamiya Plastic Cement is also intended for plastic model-building applications rather than flexible Lexan shell repairs. It can be handled in roughly one to two hours and reaches full cure in about 24 hours, but that does not make it the right answer for a flexing polycarbonate fender. [5]
Reshape dents before touching up the finish
A body that has been folded inward can often be improved with gentle heat from a hair dryer or heat gun. The goal is to relax the distorted area gradually, not cook the shell until it bubbles or shrinks. [1][2]
Keep the heat moving and warm the broad area around the dent rather than concentrating on one point. Press the panel back toward its original shape gradually. A heavily creased roof will not always return perfectly, but reducing the crease makes later paint work look much better.
Do this before paint touch-up and before adding a large internal patch. Once adhesive cures behind a badly distorted panel, you may lock that shape in permanently.
Let the repair cure before the next race day
Do not judge a repair by whether it feels dry on the surface. Adhesives can skin over before they gain their full strength. Hudy Body Fix 2 is listed with a 24-hour drying period, while J-B Weld Plastic Bonder and Norton SPEEDGRIP epoxy products are also cited as requiring about 24 hours for full cure. [4][6]
Other products vary. TEROSON PU 9200 is reported to skin in about 35 minutes and cure around 4 mm per 24 hours. CA products can form an initial bond in 10 to 15 minutes but may need 10 to 15 hours for full strength. [6]
Use the manufacturer’s instructions for the exact product in your hand. The sources do not provide RC-specific testing for temperature and humidity, but general adhesive guidance puts ideal working conditions around 18 to 27°C, or 65 to 80°F. [4][6]
Below about 10°C, curing can slow significantly. Above roughly 32°C, some adhesives can skin too quickly or cure poorly. Humidity can also affect moisture-curing products, so a cold garage is not the place to rush a body repair. [4][6]
Restore scuffs and missing paint with the right paint system
Once the shell is structurally sound, deal with the cosmetic side. Polycarbonate needs paint designed to flex with polycarbonate. Tamiya PS-series paint, Pro-Line paint, Pactra paint, and Parma paint are all identified as suitable categories for RC body work. [7][10][11]
A 100 ml Tamiya PS spray can is approximately $8, according to the supplied retail guidance. That is paint cost only, not masking film, primer, cleaner, replacement decals, or the body itself. [9]
Use a polycarbonate-specific primer where the paint system calls for it. Tamiya Polycarbonate Primer is specifically recommended in the research brief, and the point is adhesion, not adding a thick automotive-style finish. [9][12]
Avoid ordinary paint intended for rigid household plastics or metal. It may look fine on the bench, then crack or peel as soon as the shell flexes over the rear shock tower or catches a tire. [10][13]
For a simple scuff repair, clean the damaged section, mask the surrounding design carefully, and build color in light coats. Heavy coats are more likely to run, bleed under masking, or leave an obvious ridge at the repair edge. [7][12][13]
Know when buying a new shell makes more sense
DIY repair materials are generally affordable, with repair kits commonly falling in the $15 to $60 range. The job can take 30 minutes for a small crack or several hours when you include cleaning, reinforcement, reshaping, paint work, and cure time. [1][2][15]
Professional RC body restoration is not well documented as a normal service category. Automotive bodywork prices and timelines do not translate to a 1/10 shell or 1/8 truggy body, so quoting full-size vehicle figures here would be misleading. [16][17]
If the body is structurally intact and the paint scheme matters to you, repair it. If the shell is split through multiple mounting points, crushed around the cockpit, and needs more patch material than original polycarbonate, a replacement body may restore the appearance more cleanly.
Frequently Asked Questions
How do I stop cracks from spreading in a Lexan RC car body?
To prevent cracks from growing, drill a small stop hole at each end of the crack before applying glue. This is especially important around areas that flex frequently, like wheel arches and body-post holes, as the flexing concentrates stress and can extend the crack. Use the smallest drill bit that cleanly removes the sharp crack tip without making a large hole.
What glue is best for repairing Lexan RC car body cracks?
Use flexible adhesives such as Shoo Goo, E6000, or ORCA Body Reinforce & Repair Glue for polycarbonate (Lexan) bodies. These glues flex with the body and are less likely to crack or release compared to brittle CA glue, which can fail when the shell flexes during use.
How do I reinforce torn mounting holes on a Lexan RC car body?
Reinforce torn mounting holes from the inside by applying fiberglass drywall tape combined with a flexible adhesive. This method strengthens the area and helps prevent further tearing. Allow sufficient curing time before reinstalling the shell to ensure durability.
Can I drill holes to stop Lexan body cracks from growing?
Yes, drilling small stop holes at the ends of cracks is a recommended technique to stop cracks from extending. The holes reduce stress concentration at the crack tips and help prevent the split from growing further. Use a small drill bit to avoid creating unnecessarily large holes.
How to prepare a Lexan RC car body for crack repair?
Remove the body from the chassis and clean the damaged area thoroughly with mild soap and water, then dry it completely. Lightly sand the inside around the damage with 220-grit sandpaper to create a surface the adhesive can bond to, then brush or wipe away sanding dust before applying glue. This preparation ensures a stronger, longer-lasting repair.
How we researched this
This article was assembled from 17 cited references.
Nothing here is based on hands-on testing. Where a figure or finding appears, it belongs to the source cited beside it, and the writing says so rather than implying otherwise. Every source is listed below so you can check it.
Sources
- How to Repair and Maintain Your RC Car's Body-Micro Servo Motor
- How to Fix Broken RC Car Body: Step-by-Step Repair Guide
- Pit tips: stop Lexan body cracks, lock wheel nuts, fix Allen wrenches — RC Car Action
- Hudy Bodywork Glue 110ML 106280
- Plastic Cement Tamiya: A Guide to RC Car Builds (plastic cement tamiya – DigitalRc.ca
- Norton SPEEDGRIP 30 Epoxy Panel-Bonding Adhesive - 06418 | Auto Shop Supply
- How do you spray a body for an RC car?
- Essential Do's and Don'ts for Successful Plastic Bumper Repairs | Fender Bender
- Tamiya Tamiya Polycarbonate PS-4 Blue, Spray 100 ml | Horizon Hobby
- Best Polycarbonate Spray Paint for RC Cars: Top Picks for Durable, Flexible Finishes – Best Home Tools
- The 3 Best Paints for RC Car Bodies | Duratrax, Tamiya & Pactra – RaceNRCs
- Mastering Rc Body Painting: A Guide To Polycarbonate Techniques | CyPaint
- RC Car Paint Guide: How to Paint Polycarbonate Bodies | Speed World Raceway
- The Perfect Rc Car Body Thickness: How Thick Is Too Thick? | ShunAuto
- How to Repair RC Car Body: A Comprehensive Guide
- Vehicle Body Refurbishment: Complete 2026 Process Guide - autobodyrepairs
- Is it worth it to touch up paint on a car?
Related Articles
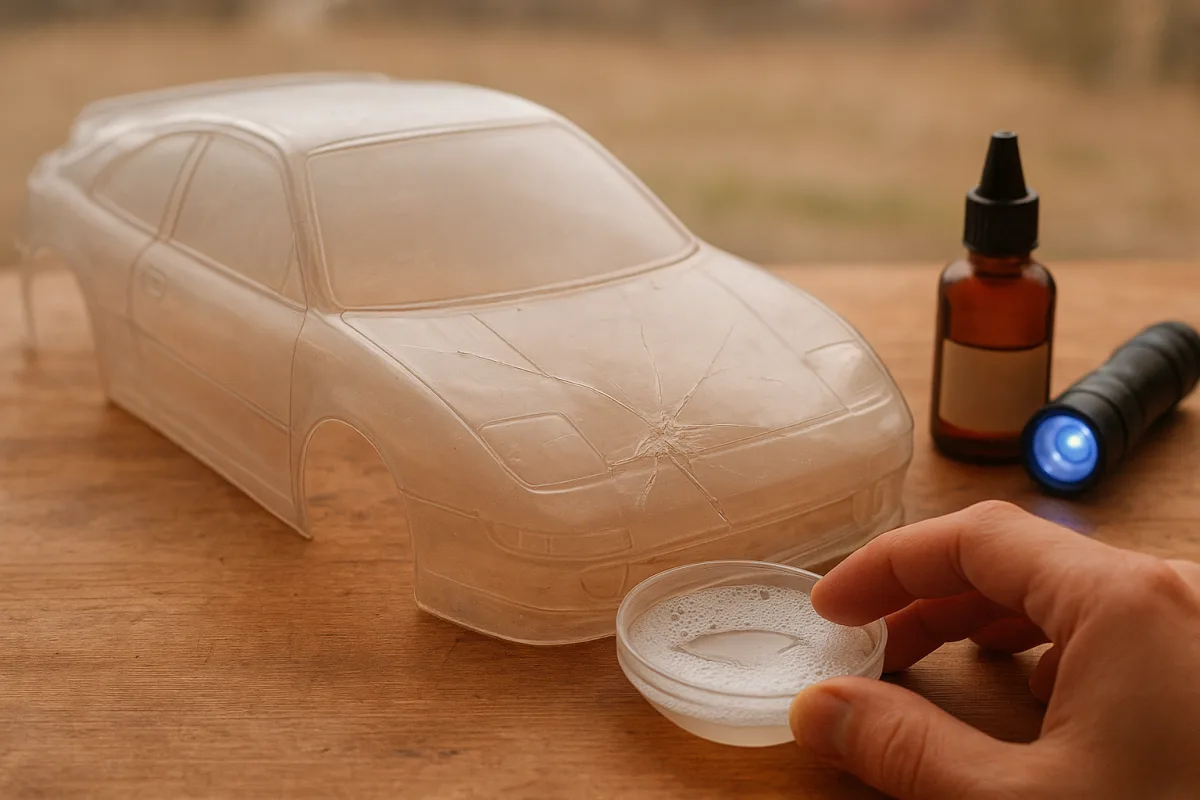
How to Fix Broken RC Car Body: Step-by-Step Repair Guide
Learn how to fix broken RC car body with cleaning, adhesive, and repainting tips for a durable, clean repair. Step-by-step guide included.
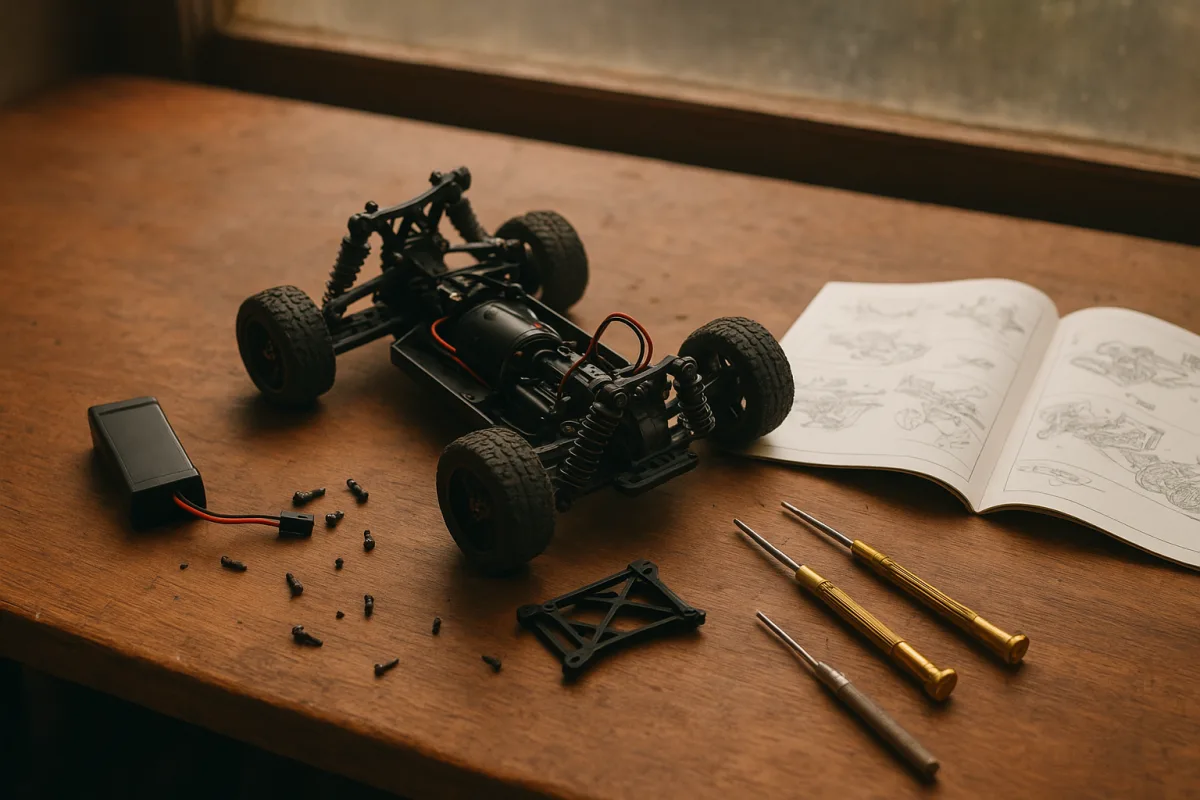
How to Replace RC Car Parts: A Step-by-Step Guide
Learn how to replace RC car parts safely and correctly with this step-by-step guide covering tools, part compatibility, and preparation tips.