
Troubleshooting RC Car Not Responding: Causes & Fixes
Learn troubleshooting RC car not responding issues with step-by-step fixes for radio, battery, ESC, and receiver problems.
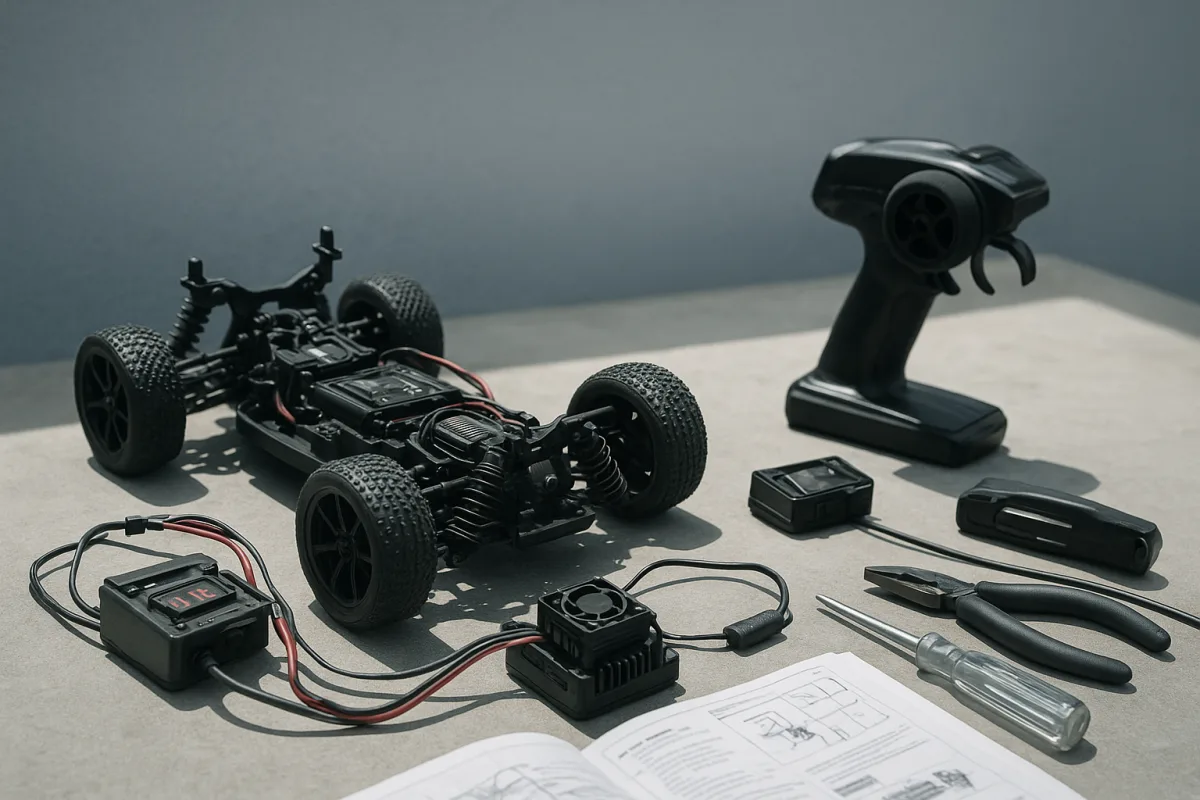
First question: is anything actually powered?
When an RC car does nothing, I start at the radio, not the motor, not the gear ratio, and definitely not with a shopping cart full of aluminum parts. A weak transmitter battery is easy to miss and is repeatedly identified as a common reason for poor response or a blinking remote. [1][3]
Fit known-good transmitter cells or fully charge the transmitter pack, then switch it on and watch its status LED or screen. A flashing warning, weak display, or inconsistent power indication means you have not reached the car diagnosis yet. [1]
Next, check the vehicle battery connection. Unplug it, inspect both connectors for pushed-back terminals, heat damage, dirt, or a loose fit, then reconnect it firmly. Loose or damaged wiring between the pack, ESC, receiver, and motor is a well-established source of non-response. [3][5]
For a typical 1/10 electric buggy, stadium truck, touring car, or drift chassis, the usual pack is a 2S LiPo: 7.4V nominal and 8.4V when fully charged. A 3S LiPo is 11.1V nominal, but it belongs only in a car whose ESC is explicitly rated for it. [6][7]
Do not assume a 3S pack is a cure for a lazy car. On a 1/10 class setup, moving from 2S to 3S increases voltage and load on the ESC and motor. If the electronics are not 3S compatible, it can turn a response problem into an overheated-electronics problem. [7]
If the car wakes up briefly and then stops responding to throttle, inspect the ESC’s low-voltage cutoff setting and the pack’s condition. Sources differ slightly on the best threshold: 3.0V per cell is commonly treated as safe, while 3.2V per cell offers more battery protection. [6][7]
That means a 2S hardcase pack should generally be protected from running below roughly 6.0V to 6.4V under the cutoff scheme. The exact setting is less important than using a sensible cutoff and not repeatedly draining LiPos until the car simply quits. [6][7]
Separate steering, throttle, and total radio loss
Before tearing into the chassis, establish what still works. If steering and throttle are both dead, think transmitter power, receiver power, binding, receiver damage, or a main wiring problem. If steering works but the motor will not respond, narrow the job toward throttle setup, ESC connections, or the ESC itself. [3][5]
A car that accelerates without a trigger input is not a motor-timing or pinion-gear issue. It points toward throttle trim, throttle calibration, radio settings, or a failsafe problem. Reset throttle trim to neutral before changing mechanical parts. [2][5]
Do not diagnose a non-responsive throttle by immediately swapping the motor. The available research identifies overheating as a motor and ESC risk, but does not provide a detailed motor-fault test sequence. Start with the known checks: battery, radio link, trim, calibration, and wiring. [5][12]
Servos deserve their own check. A failed steering servo, damaged servo lead, or receiver channel problem can look like a bad receiver from the driver’s stand. Testing the servo independently is specifically identified as a commonly neglected diagnostic step. [3]
For racers, this is the point where patience saves money. A 1/8 truggy with a high-current 4S setup has different electrical loads from a 1/10 2S buggy, but the fault-finding order is the same: prove the power, prove the radio link, then isolate the channel. [3][7]
If the radio and receiver are not linked, re-bind them
Binding is the next stop when the transmitter has power, the car has power, and the receiver does not show a normal connected state. Do not guess from somebody else’s radio brand, because binding procedures vary by manufacturer and protocol. [10]
The general process is straightforward. Turn off transmitter and vehicle, put the receiver into bind mode with its button or bind plug, power the receiver, then put the transmitter into bind mode and wait for LED confirmation. [10]
After confirmation, switch both off and back on, then test steering and throttle with the wheels off the ground or the car securely restrained. That final restart matters because it confirms the link is retained, rather than merely showing a temporary bind indication. [10]
Set the transmitter throttle trigger at neutral during this process. Binding also establishes failsafe behavior, so binding with accidental throttle trim or trigger input can create a car that will not arm properly or behaves unpredictably when signal is lost. [10]
Traxxas systems need their own instructions rather than the generic bind-plug routine. The manufacturer’s style of procedure uses the receiver’s LINK button and the transmitter’s SET button, with LED feedback guiding the connection sequence. [10]
Do not force a bind plug into a receiver that does not use one, and do not assume a flashing LED has the same meaning across brands. Check the manual for the exact transmitter and receiver combination before declaring either unit faulty. [1][10]
Check where and how you are testing
A modern 2.4 GHz radio normally has an open-area range of roughly 100 to 300 metres, but that is not a guarantee in a car park, workshop, apartment block, or busy race venue. Wi-Fi, Bluetooth devices, microwave ovens, and physical obstructions can reduce usable range. [9][17]
If your car responds near your pit table but stops at one end of the lot, treat that as an interference or range clue. Move to an open area, inspect the receiver antenna, and repeat the test before replacing the receiver. [3][9]
The antenna is not cosmetic. A damaged, pinched, cut, or poorly routed receiver antenna can compromise signal performance, and antenna integrity is another inspection item hobbyists often overlook. [3][18]
There is also a less obvious trap: do not press the transmitter right against the receiver while testing on the bench. RCexplained notes that very close transmitter proximity can overload the receiver signal and produce non-responsiveness, even though distance-related signal loss is more familiar. [8]
That means a sensible test position is not across a football field, but it is not two inches from the receiver box either. Stand back a practical distance, keep the antenna unobstructed, and see whether steering and throttle become consistent. [8][9]
Open the receiver box and inspect the simple stuff
With the vehicle battery unplugged, inspect receiver, ESC, and servo connections. Look for a loose plug, bent pins, damaged insulation, corrosion, or moisture. Receiver damage and moisture exposure are specifically flagged as common checks people skip. [3]
Humidity and water can corrode connections or cause shorts, especially when a receiver box has been opened, a seal has been pinched, or the car has been run through wet grass. Dry affected electronics thoroughly before reconnecting power. [12]
If your car stopped responding after a wet bash session, avoid the common mistake of repeatedly powering it up to “see if it dried out.” Inspect and dry first. The research supports drying electronics after moisture exposure, even though it does not define a precise safe humidity threshold. [12]
Cold weather can make a pack feel flat and reduce motor response, while heat accelerates battery degradation and raises the risk of motor and ESC overheating. Warm batteries before cold-weather running, and monitor electronics temperatures during hot-weather sessions. [12][13]
For a 1/10 2S car, this can look exactly like an electronic failure: dull throttle, early cutoff, then a car that appears dead until the battery recovers. Before changing motor timing, pinion size, or ESC settings, check the pack and operating temperature. [7][12]
When replacement is justified, buy the right electronics
Only replace electronics after the battery, binding, antenna, wiring, moisture, trim, and individual servo checks have pointed to a failed unit. The expensive upgrade is usually not the fix when the actual fault is a tired transmitter battery or an unbound receiver. [1][3]
Replacement costs vary widely. A DEERC H16R 35A ESC/receiver combination has been listed around $17, while a Spektrum AR6400 micro receiver/ESC has been listed around $68. Those are electronics-only prices, not an assurance of compatibility with your chassis or radio protocol. [14]
The DEERC H16R 35A integrated board suits the specific H16R-style application it was designed for, not a general-purpose 1/10 race buggy conversion. The Spektrum AR6400 micro receiver/ESC is likewise a compact micro-model solution, not automatically appropriate for a full-size 1/10 or 1/8 car. [14]
Another replacement listing, the ZLL Beast SG216PRO ESC/receiver board, was priced at $25.99 by TodayRC. It suits the SG216PRO and related SG216MAX platform specified by that seller, so treat it as a model-specific spare rather than a universal ESC upgrade. [15]
A used Spektrum AR8000 receiver was listed for CHF 11 on Ricardo, collection only. It may suit a compatible Spektrum radio installation, but it is a receiver rather than an integrated ESC/receiver board, and a used unit needs especially careful inspection for antenna and moisture damage. [16]
Typical replacement ESC ratings in this part of the market run roughly 15A to 45A, depending on the model. Match voltage capability, current rating, motor type, connector arrangement, physical fit, and radio compatibility, rather than choosing solely by the lowest price. [14][15]
I have not physically run or handled these replacement components, so those suitability notes rest on the listed specifications and intended applications, not bench testing. For a race-oriented 1/10 car, verify the exact manual and wiring diagram before ordering any board or receiver.
Frequently Asked Questions
Why is my RC car not responding to the remote?
A common cause is weak or dead transmitter batteries, so start by fitting fresh or fully charged transmitter cells. Next, check that the vehicle battery pack is charged and properly connected, inspecting connectors for damage or looseness. Also verify that the receiver is correctly bound to the transmitter and that the receiver LED shows a linked state.
How do I fix an RC car that won't accelerate?
First, confirm the battery pack is fully charged and the ESC’s low-voltage cutoff is set correctly—typically around 3.0 to 3.2 volts per LiPo cell. Loose or damaged wiring between the battery, ESC, receiver, and motor can cause throttle failure, so inspect all connections carefully. Also ensure the throttle trim is neutral and the transmitter and receiver are properly bound.
What causes an RC car to lose steering control?
Loss of steering can result from receiver or servo issues, antenna damage, or moisture affecting electronics. Before replacing parts, check the antenna condition, servo operation, and connections for damage or corrosion. Signal interference or binding problems can also cause steering loss.
How to re-bind the RC car receiver to the transmitter?
Binding procedures vary by brand but generally involve powering off both devices, entering bind mode on the receiver (using a bind plug or button), powering on the receiver, then entering bind mode on the transmitter. Wait for LED confirmation of a successful bind, then power cycle and test. For example, Traxxas uses a specific LINK button on the receiver and SET button on the transmitter.
What battery issues cause an RC car to stop responding?
A discharged or weak battery pack is a frequent cause, especially if the ESC’s low-voltage cutoff setting is too high or the battery is drained below safe voltage levels (around 3.0–3.2V per LiPo cell). Over-discharging LiPo batteries can cause the car to stop responding to throttle commands. Always use a sensible cutoff and avoid repeatedly draining the battery fully.
How we researched this
This article was assembled from 18 cited references.
Nothing here is based on hands-on testing. Where a figure or finding appears, it belongs to the source cited beside it, and the writing says so rather than implying otherwise. Every source is listed below so you can check it.
Sources
- Why Is My RC Car Remote Blinking? Common Causes and Fixes for 2026 -
- My RC car accelerates by itself, now what?
- Remote Control Car Not Working? Causes and Fixes – RaceNRCs
- TECH1RC
- RC Car Not Responding To Throttle - Diagnosis & Fixes
- RC Drift Car Battery Basics - Understanding 1S, 2S, 3S and C-Ratings | RC Drift Parts Upgrade Guides
- 2S vs 3S Lipo Batteries for 1/10 Electric RC Cars: Speed, Runtime and ESC Compatibility - Riverhobby Tech (Shenzhen) Co., Ltd.
- RC Transmitter Too Close? How It Causes Radio Interference - RCexplained
- What Does 2.4GHz Mean for RC Cars? - RC Ratings
- Binding a Radio: Protocols, Failsafe at Bind Time, and…
- How Do High And Low Temperatures Affect CR Coin Cell Batteries? - NACCON
- How Weather Affects RC Car Performance | Hearns Hobbies
- Winter RC Care: Protecting Batteries in Freezing Temperatures
- Zll sg116 pro/max 1/16 rc car parts brushed/brushless esc receiver board steering servo body shell vehicles models accessories Sale - Banggood.com
- ZLL Beast SG216 SG216PRO SG216MAX RC Car Vehicle spare parts ESC receiver (For SG216PRO) [sg216pro-sg216max-57] - $25.99 : Supply RC drone, car, boat, airplane, helicopter, and spare parts
- Original Spektrum Empfänger AR8000 (Gebraucht) in Balsthal für CHF 11 – nur Abholung auf Ricardo kaufen
- 2.4 GHz radio use
- Modified XMods Antenna – RC Car Action
Related Articles
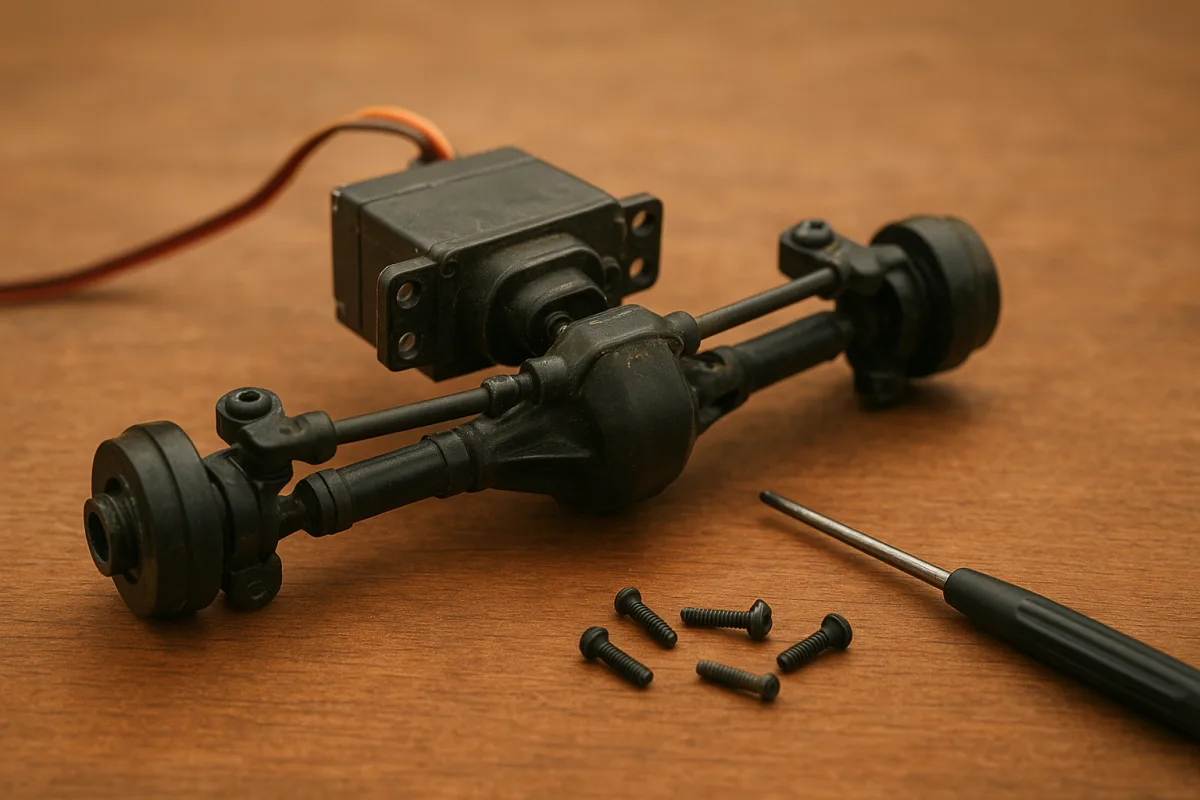
Fix RC Car Steering Issues: Troubleshooting and Repair Tips
Learn how to fix RC car steering issues with step-by-step troubleshooting and repair tips for servos, linkages, and power problems.
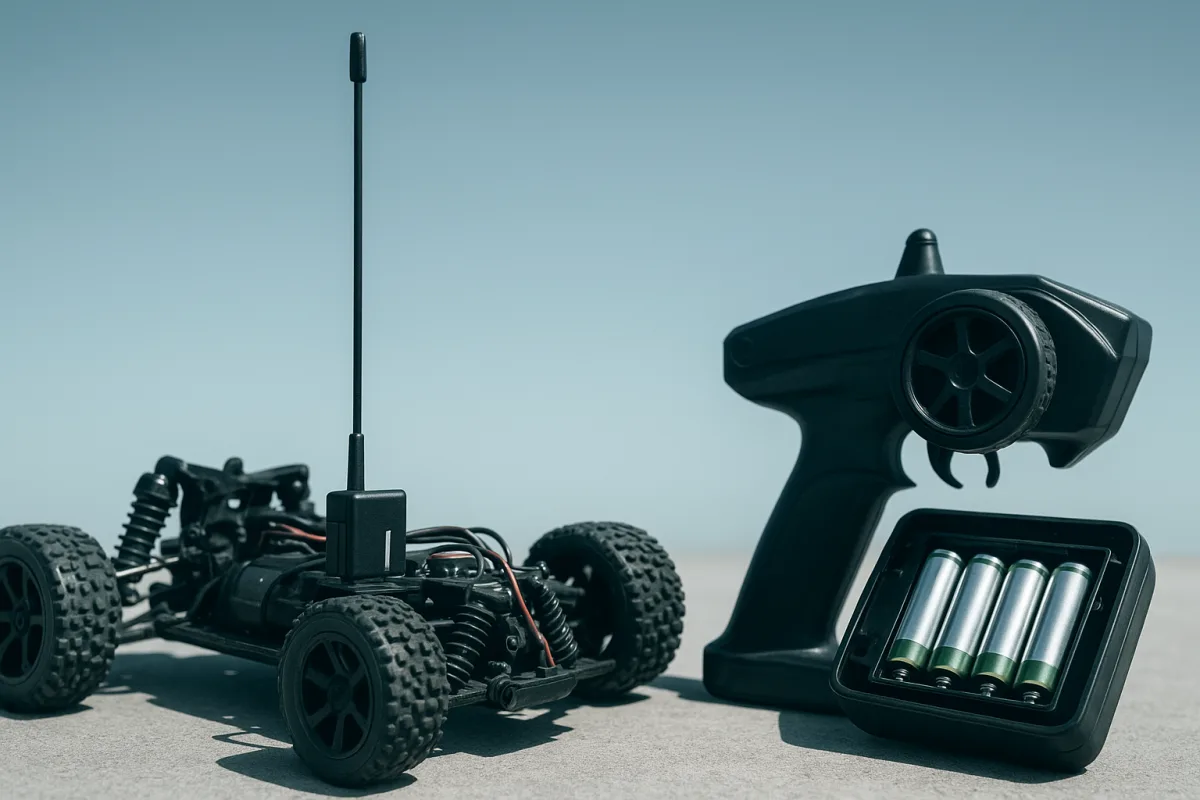
How to Set Up RC Car Radio for Reliable Control
Learn how to set up your RC car radio, bind transmitter and receiver, choose batteries, and troubleshoot signal issues for reliable control.

RC Car Safety Regulations
Learn about RC car safety regulations, radio compliance, and best practices for batteries and equipment in the US, UK, and EU.
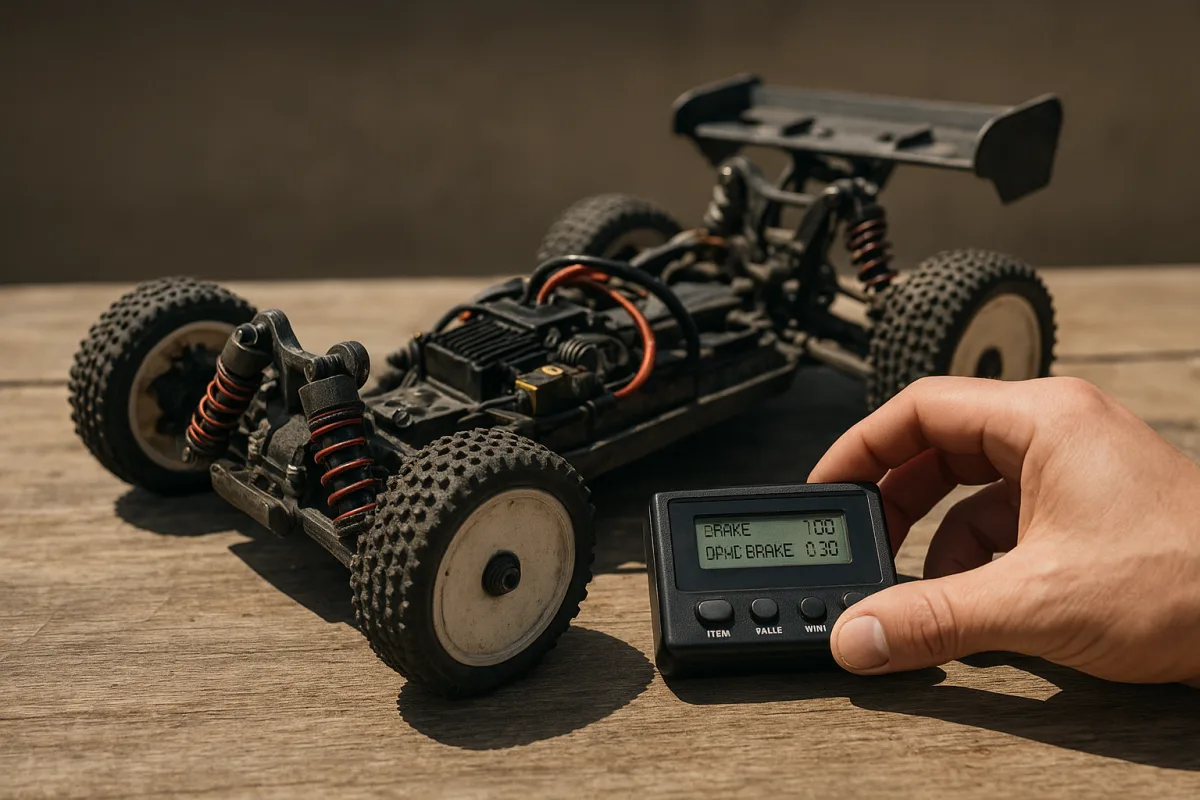
How to Adjust RC Car Brakes for Better Control
Learn how to adjust RC car brakes, including ESC calibration, brake strength, brake rate, and drag brake for optimal stopping power and control.