
Fix RC Car Steering Issues: Troubleshooting and Repair Tips
Learn how to fix RC car steering issues with step-by-step troubleshooting and repair tips for servos, linkages, and power problems.
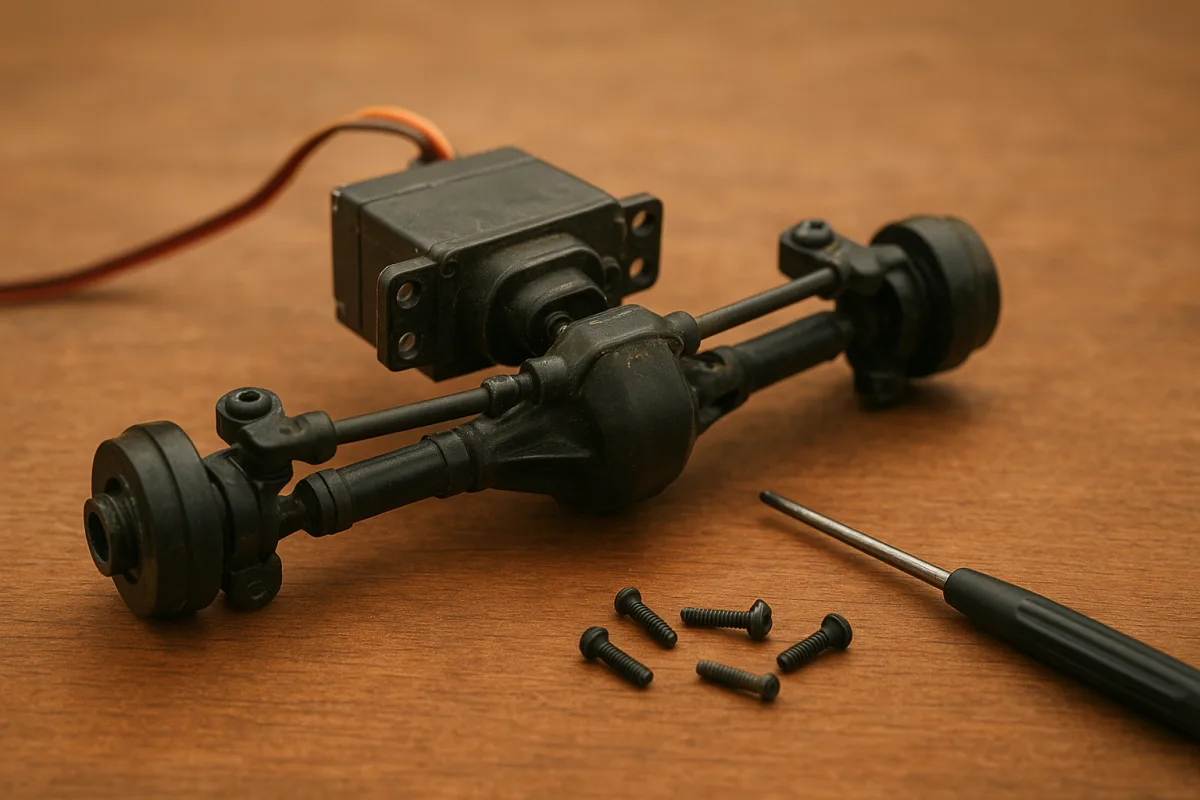
When the car will not steer at all
Do not start by stripping the front end. Put the car on a stand, switch on the transmitter first, then the car, and watch what the servo does. Twitching, intermittent movement or silence can all begin with power rather than broken gears.[1][2]
Check the main pack first. A LiPo cell should be around 3.7 V at nominal voltage, so a 2S pack should not be treated as healthy simply because the car still powers up. Low voltage can leave enough power for the receiver but not enough stable current for steering.[1]
Then inspect the battery plug, ESC lead, receiver plug and servo lead. A loose connector, damaged wire or poor contact can cut steering intermittently when the chassis flexes or the car lands. Pull gently on each lead rather than assuming a connector is sound because it looks connected.[1][2]
The ESC’s BEC is also part of the steering system. It supplies receiver and servo power, so a car that steers on the stand but loses steering under load may have a power-delivery problem before it has a servo problem.[1]
Check the transmitter batteries, steering trim, steering dual rate and antenna condition next. Centre the trim and verify that the transmitter is actually sending a steering command. Signal loss, interference and damaged antenna wiring belong on the same early checklist as battery voltage.[2]
When the servo moves, but the car still has no control
If the servo arm turns but one wheel barely reacts, stop running it. That is usually a mechanical disconnect, not an excuse to fit a higher-torque servo. Look for a loose ball end, bent turnbuckle, damaged servo saver or stripped servo horn spline.[2][7]
The useful isolation test is simple. Remove the horn from the servo, then turn the wheels lock to lock by hand through the steering linkage. They should move smoothly and reach similar travel left and right without a hard spot.[2]
Resistance with the horn removed means the front end is binding. Check for a bent steering link, a dry or worn ball joint, a misaligned bellcrank, damaged bearings, or dirt packed around moving parts. A servo cannot cure friction, it only works harder until something else gives up.[2][11]
Pay particular attention after a curb strike or a bad 1/10 buggy landing. A turnbuckle can be only slightly bent and still make steering feel slow in one direction. Roll it on a flat surface if visual inspection is inconclusive, then replace it rather than trying to tune around it.[2]
For a car that pulls to one side, inspect the linkage before touching electronic trim. Unequal turnbuckle lengths, a bent link or a shifted servo saver can leave the wheels pointing different directions even when the transmitter says straight ahead.[7]
Manufacturer measurements matter here. The Traxxas Revo 3.3 manual, for example, specifies a 41.8 mm linkage measurement for its steering setup. That figure is useful for that nitro monster truck, not a universal 1/8 or 1/10 target.[6]
When steering binds or the servo buzzes at full lock
A buzzing servo at full steering lock is not normal race noise. It usually means the servo is still trying to move after the tyre, knuckle, suspension arm or linkage has reached its mechanical limit. Leave it buzzing and heat builds in the motor and electronics.[2][5]
Set steering end-point adjustment, often called EPA, with the car on the ground and suspension compressed enough to represent running ride height. Increase left and right travel separately until the car reaches usable lock, then back each side down before binding begins.[5]
Do not assume both directions need the same EPA number. Servo horn position, steering geometry and chassis layout can make one side reach its stop earlier. The goal is equal, free steering behaviour, not matching numbers on the transmitter screen.[5]
Servo saver alignment matters as well. The Traxxas Nitro Jato 3.3 instructions specify its servo-saver arm perpendicular to the chassis centreline when centred. Use the corresponding geometry in your own manual, because copying that exact orientation blindly onto another platform can create unequal travel.[6]
Overtightened screws can create the same symptoms as a bent part. Plastic steering components distort when squeezed, making a bellcrank or pivot bind. A general 0.15 to 0.35 Nm range is cited for mini and mid-scale chassis screws, but treat it as guidance, not a specification for every kit.[2][15]
A torque screwdriver is useful if you have one, particularly around plastic steering mounts. Without a model-specific torque figure, tighten only until the part is secure and still moves freely. Recheck motion after each screw, rather than discovering a bind after the whole nose is assembled.[15]
Centre the system before adjusting toe
Once the steering moves freely, centre the transmitter trim and steering dual rate. Power the car, allow the servo to centre, remove the horn if necessary, then refit it as close as possible to 90 degrees from the servo case.[4]
That 90-degree starting point gives the linkage balanced servo travel. Fine-centre the wheels with turnbuckles or steering links, not by leaving the transmitter trim cranked to one side. Trim should correct small running changes, not conceal a badly assembled front end.[4][7]
Set toe using the manufacturer’s setup information for your particular chassis. Adjusting turnbuckle length changes where the wheels point, and excessive toe settings can make a car wander or pull. Check that both left and right steering links remain matched where the design calls for equal lengths.[4][7]
This is where many expensive “steering upgrades” disappoint. If a 1/10 touring car darts under braking or a 1/8 truggy will not track straight, first prove the horn is centred, links are straight, toe is sensible and the saver is aligned. Geometry beats catalog shopping.[4][7]
When the servo itself has failed
With the steering linkage disconnected, test the servo unloaded. Grinding, repeated buzzing, no movement or a horn that can be turned without resistance can indicate stripped gears, a damaged motor or internal electronic failure.[2]
Do not diagnose a servo from steering feel while it is still fighting a seized bellcrank. An unloaded test separates a failed servo from a healthy servo being punished by binding. If it operates cleanly unloaded but struggles connected, return to the linkage.[2]
For typical electric cars, cited pricing runs from about $10 to $30 for basic replacement servos. The MJX Hyper Go 14301/14302 replacement steering servo is listed around $11.67, making it a budget replacement intended for those specific MJX models, not a universal upgrade.[17]
The Traxxas TRX2060 is cited around $35 in the research brief, placing it above the basic replacement range. It suits the Traxxas applications designed around that unit, but confirm plug, physical dimensions, voltage compatibility and spline before treating any branded servo as a drop-in fit.[9]
For torque requirements, the category matters more than the biggest number on the box. On-road cars generally need 8 to 12 kg-cm, while 1/10 off-road buggies and stadium trucks generally need 10 to 15 kg-cm because larger tyres and rough surfaces load the steering harder.[3]
Crawlers and trail vehicles commonly call for 20 to 35 kg-cm or more, where tyre scrub against rocks can overpower a conventional buggy servo. The ANNIMOS DS3218MG is identified as a 20 kg option, so it belongs in that higher-load crawler and trail conversation.[9]
At the top end, the PowerHD T60-BHV is cited at 60 kg torque and up to about $95. That is serious output for high-load applications, but it is not evidence that every 1/10 racer needs it. More torque increases load on horns, savers and steering hardware.[8]
Savox, Spektrum, PowerHD, ANNIMOS and Hitec are all identified as reliable servo brands in the research. I have not personally run every one of those servos, so selection should still come down to verified fit, required torque and the voltage your receiver system can supply.[9]
Most 1/10 electric steering systems use a 25-tooth servo spline and M3 horn hardware, but verify before ordering. An aluminium horn is preferred for strength, while a dual-clamp horn is useful under high torque. A single-screw horn with threadlock is generally sufficient for ordinary loads.[3]
Arm length is a trade-off. A longer horn arm gives more steering movement for a given servo rotation but increases load on the servo. A shorter arm reduces that mechanical disadvantage, though it may require linkage or EPA changes to retain the steering angle you need.[3]
Keep the repaired steering working
After every dusty run, brush or blow debris from the bellcranks, ball ends, bearings and servo area. Dust increases roughness and wear in moving parts, and it is much easier to remove before it has mixed with moisture and old lubricant.[11][12][14]
Inspect ball ends, turnbuckles and servo-saver hardware regularly, especially after crashes. Replace visibly bent parts, check for loose joints and apply appropriate lubrication to linkages and bearings. The aim is not to make the front end oily, it is to keep it free without grinding contamination into it.[11][12]
Heat deserves attention too. General RC maintenance guidance flags temperatures above 60 C as a concern for servos and lubricants, although that is not a model-specific servo limit. If steering fades after a long run, check for binding before adding cooling.[10][11]
That order restores control with the least wasted money: power first, radio second, free mechanics third, correct centring and EPA fourth, then servo replacement only when the unloaded test points there. Most steering faults are found well before the upgrade cart.
Frequently Asked Questions
How do I diagnose and fix RC car steering issues?
Start by checking the power system: ensure your LiPo battery voltage is healthy (around 3.7 V per cell), and inspect all connectors including battery plug, ESC lead, receiver plug, and servo lead for loose or damaged contacts. Next, verify transmitter settings like steering trim and antenna condition. If the servo moves but steering is poor, disconnect the servo horn and move the wheels by hand to check for mechanical binding or damaged linkages. Fix any bent rods, dry ball joints, or misaligned servo savers before considering servo replacement.
What causes my RC car steering to not respond?
Common causes include low battery voltage that provides enough power for the receiver but not the servo, loose or damaged wiring/connectors, and ESC/BEC power delivery issues. Radio problems such as signal loss, interference, or transmitter battery failure can also prevent steering response. Mechanical issues like binding in the steering linkage or damaged servo components may cause no steering despite servo movement.
How can I fix a buzzing servo in my RC car steering?
A buzzing servo often indicates it is straining against the steering stops. To fix this, center the transmitter steering trim and mount the servo horn at 90 degrees to the servo case. Adjust the end-point settings on your transmitter so the servo does not try to move beyond the physical limits of the steering mechanism, preventing it from buzzing.
Why does my RC car pull to one side and how do I fix it?
Pulling to one side is usually caused by misaligned steering trim, bent turnbuckles, or damaged servo saver components. Check and adjust the steering trim on your transmitter first. Then inspect the steering linkage for bent or damaged parts, especially after impacts or rough landings, and replace any bent turnbuckles rather than trying to compensate with trim.
What steps should I take when my RC car steering binds?
If the steering binds, first remove the servo horn and try to turn the wheels by hand through their full range. Binding indicates mechanical issues such as bent steering links, dry or worn ball joints, misaligned bellcranks, or dirt in moving parts. Clean, lubricate, and replace damaged components as needed. Avoid forcing the servo, as it will only work harder and potentially fail.
How we researched this
This article was assembled from 17 cited references.
Nothing here is based on hands-on testing. Where a figure or finding appears, it belongs to the source cited beside it, and the writing says so rather than implying otherwise. Every source is listed below so you can check it.
Sources
- Troubleshooting Common RC Problems: From Power Loss to Steering Issues – RC Models Hub
- Why Is My RC Steering Not Working? Common Causes, Diagnostics, and Fixes -
- Mastering RC Car Steering Servo: Tips, Tricks, and Best Practices
- How to Set Up a Steering Servo on an RC Car | EuroRC.com
- How do you set the maximum steering angle on an RC Car?
- Remote control car Traxxas Nitro Jato 3.3 - User manual and instructions
- Why Does My RC Car Pull to One Side? Steering Trim, Linkage and Servo Saver Checks - Riverhobby Tech (Shenzhen) Co., Ltd.
- PowerHD RC Servo Buying Guide: T60-BHV, GTS-2, GTS-3 & Full Range | SoarSky
- Best Steering Servo for an RC Car | UsedItFirst
- Brushless RC Cars - RCexplained
- RC Car Maintenance Guide: Routines That Actually Keep Your RC Running (2026) | RC Cars Guide
- RC Car Maintenance Tips: Keep Cars Running Strong | EuroRC.com
- RC Car Maintenance Checklist After Every Run | RCCarCalc
- How to Maintain Your RC Car After Every Run | Speed World Raceway
- 7 Best Electric Screwdriver For RC Cars | Torque That Grips
- How long does it take to replace an electric power steering rack? | Ryan's Auto Care
- MJX Hyper Go 14301 14302 Steering Servo - Part Number 14701 | Radio-Controlled.co.uk
Related Articles
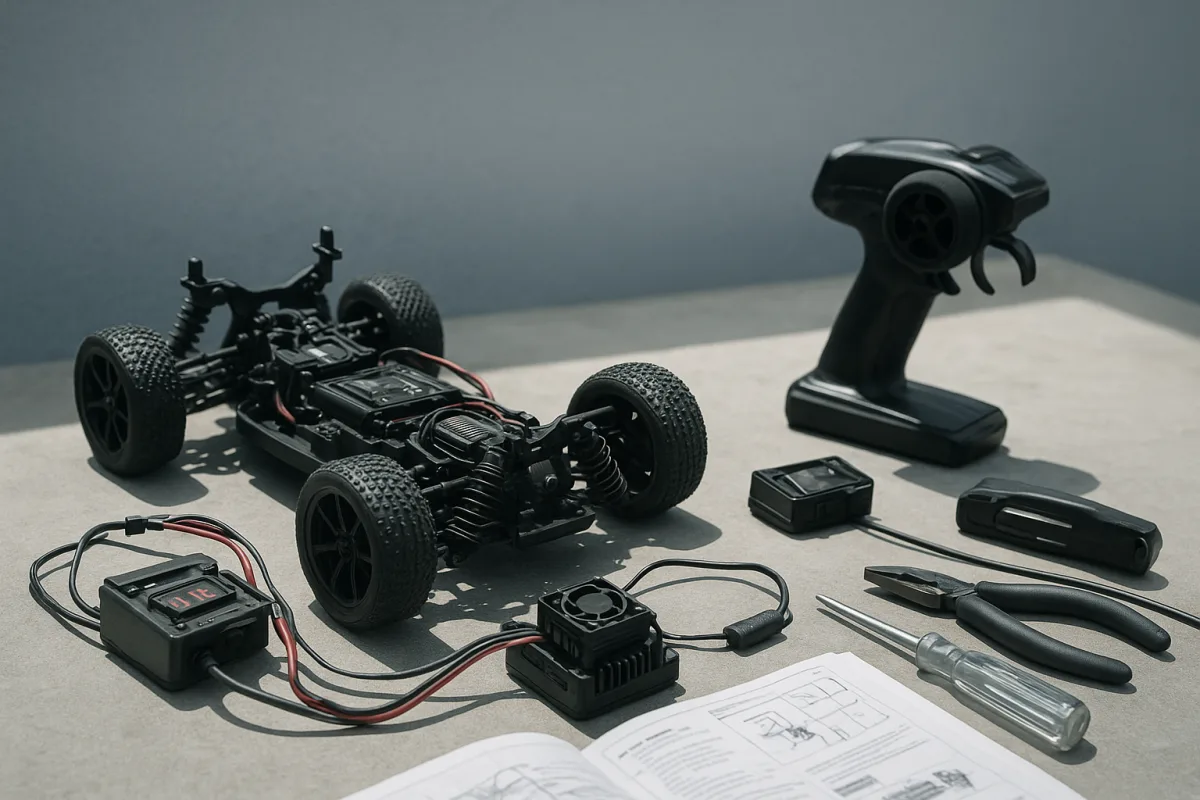
Troubleshooting RC Car Not Responding: Causes & Fixes
Learn troubleshooting RC car not responding issues with step-by-step fixes for radio, battery, ESC, and receiver problems.
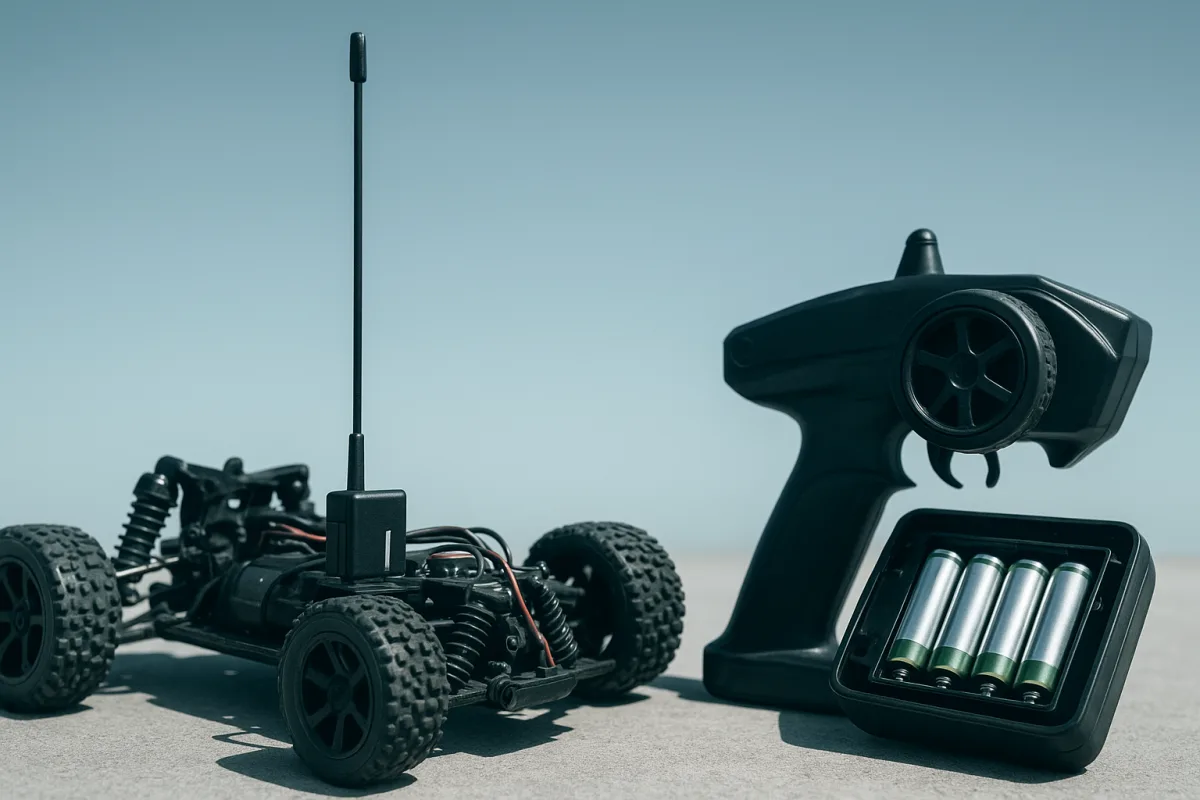
How to Set Up RC Car Radio for Reliable Control
Learn how to set up your RC car radio, bind transmitter and receiver, choose batteries, and troubleshoot signal issues for reliable control.
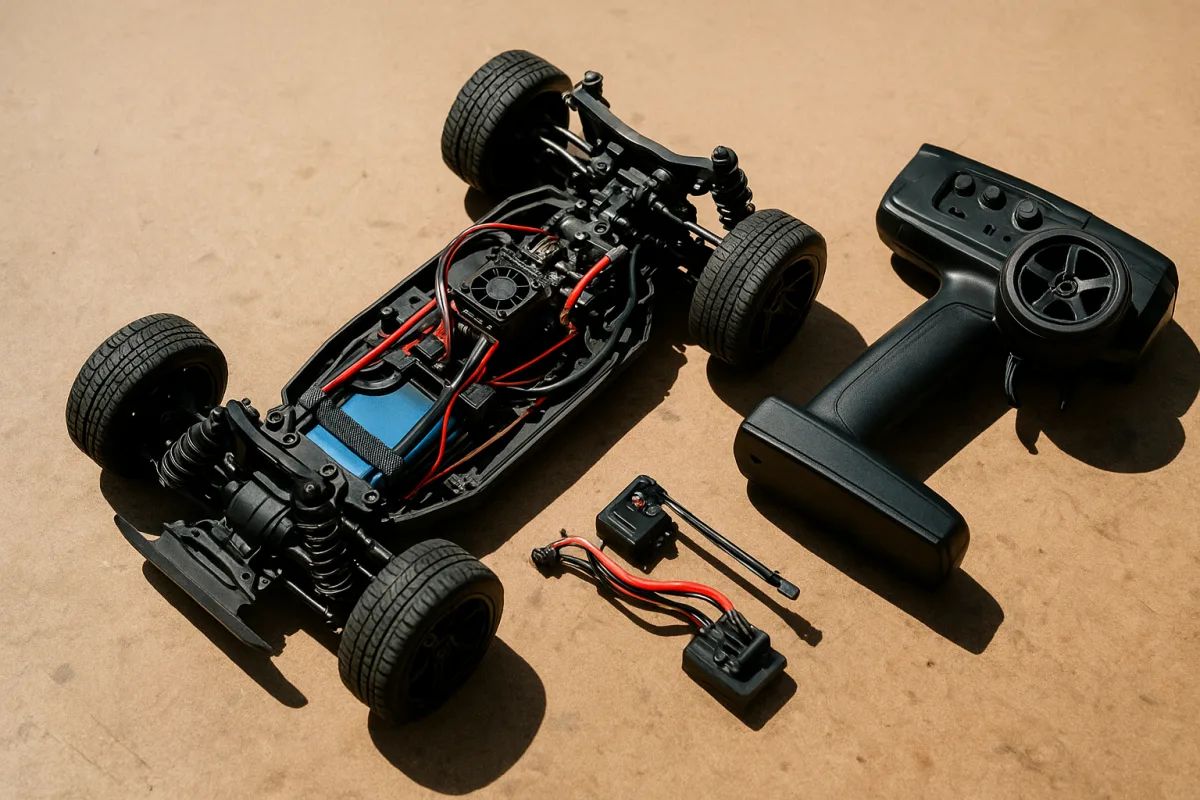
RC Car Electronics Setup
Learn how to set up RC car electronics with proper installation, ESC calibration, wiring layout, and interference reduction for optimal performance.