
How to Clean RC Car After Mudding: Step-by-Step Guide
Learn how to clean your RC car after mudding safely with step-by-step tips to protect electronics and maintain performance.
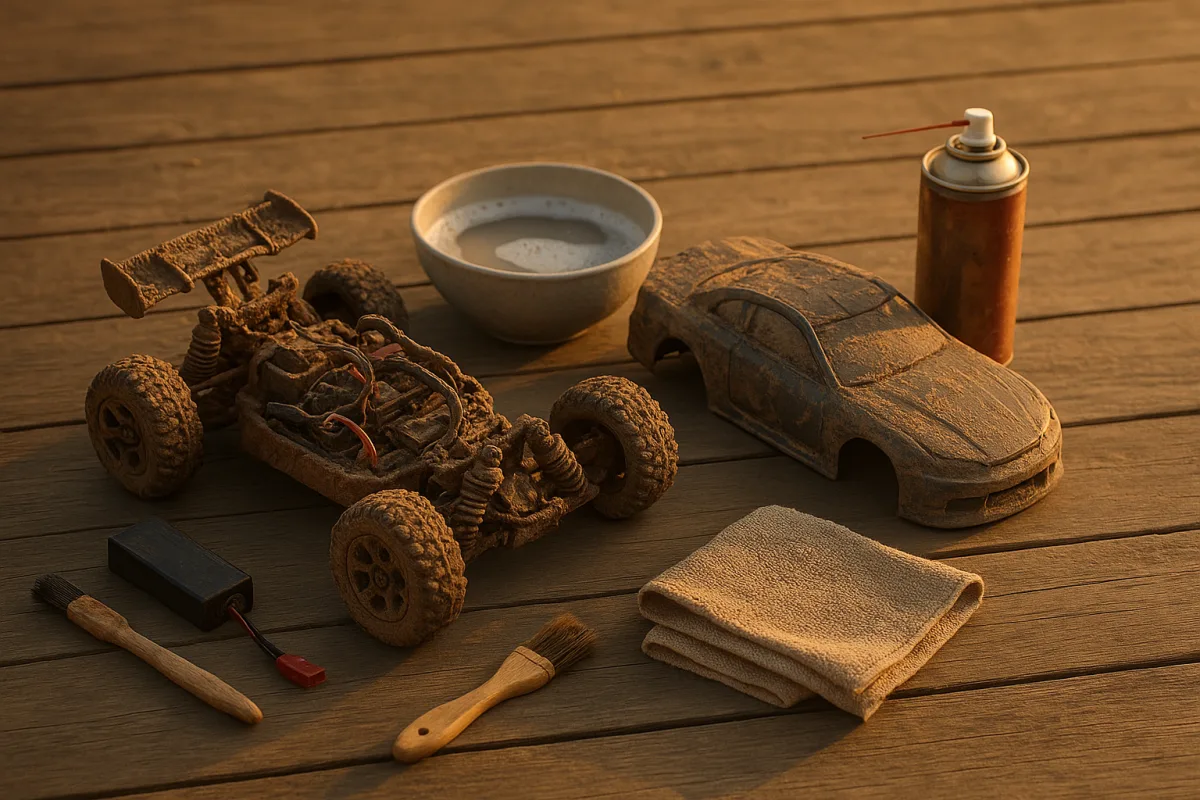
Remove the battery and body shell
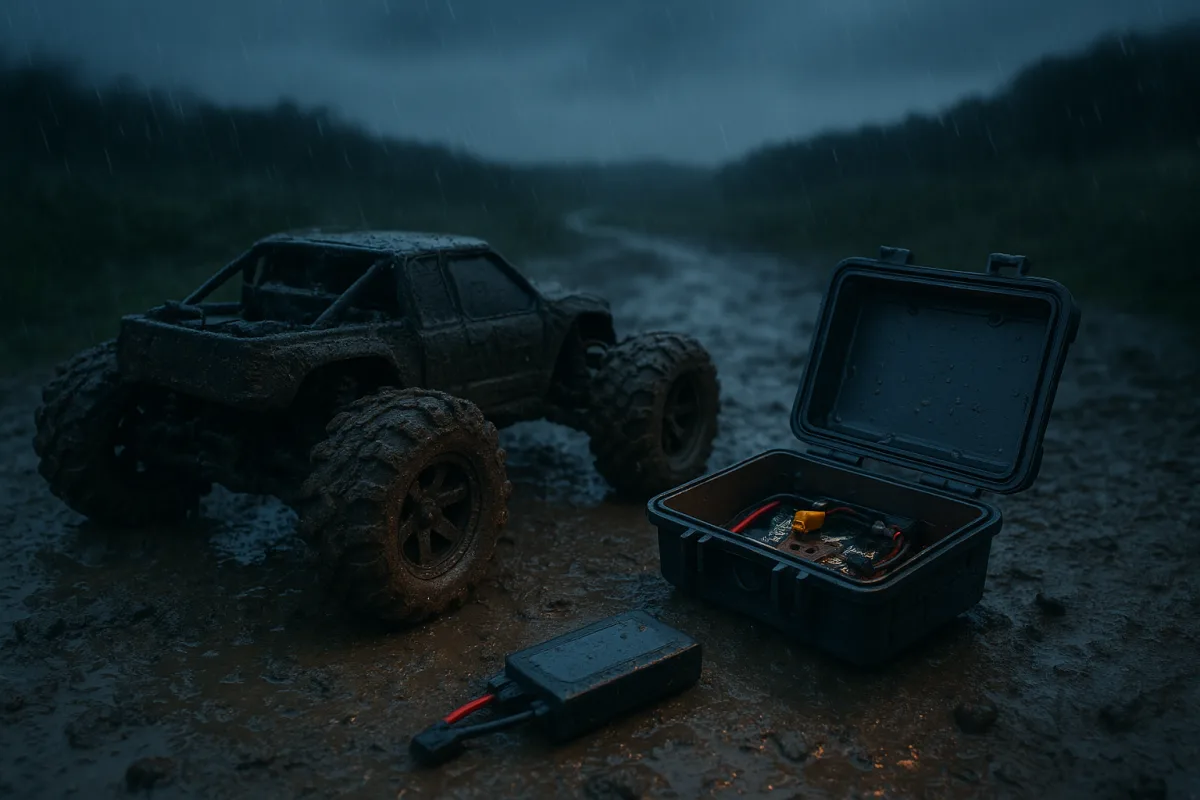
Mud packed around the battery tray, center driveshaft, and steering bellcranks is the first thing you will see when the body comes off. Pull the battery before cleaning, even if it is secured in a sealed-looking tray. [1][2]
A wet chassis can hide damaged wires and trapped moisture under the pack. Set the battery aside somewhere dry, then wipe its connector and case with a dry microfiber cloth if mud reached them. [8][10]
Remove the body shell next. It gives you access to the receiver box, ESC, motor area, shock towers, and chassis braces, and it keeps dirty rinse water from collecting inside the shell. [1][4]
Do not put a muddy LiPo back in the car after cleaning. Store it separately at about 3.8 volts per cell if it will not be used soon, rather than leaving it fully charged after the run. [8]
Put the car where water can drain away
Set the chassis on a work mat, an old towel, or a stand that lets water fall away from the underside. Keeping the car off the bench prevents dirty water from pooling around the chassis and electronics. [3][4]
Point the nose slightly downward if the front bumper and steering area are heavily packed. You want loosened mud to exit the car, not migrate into the receiver box seams, bearings, or servo openings. [2][9]
Keep a soft brush, a detailing brush, microfiber cloths, low-pressure air, mild dish soap, warm water, and approved lubricant within reach. A plastic-safe cleaner can replace soap, but harsh chemicals and frequent degreaser use can damage plastic parts. [1][3]
We would start with basic tools, not a branded cleaning kit. The damage prevention comes from controlled cleaning and complete drying, not from buying a more aggressive chemical. [3][4]
Let clay-heavy mud firm up slightly
Thick clay mud behaves differently from loose trail dirt. If you attack it while it is fully wet, a brush can turn it into abrasive paste and push grit deeper into hinge pins, bearings, and suspension joints. [1][6]
Let heavy clay deposits dry slightly until they brush away in chunks. Do not leave the car filthy for days, because dried mud becomes much harder to remove from the chassis, wheels, and moving parts. [1][3]
For ordinary wet mud, begin cleaning after the run while buildup is still removable. The aim is to remove contaminating grit before it dries around the drivetrain, not to wash every surface immediately with water. [3][9]
Use the mud itself as the guide. Clay calls for a short wait before brushing, while lighter wet dirt can come off right away with a soft brush and air. [1][6]
Brush off the loose dirt first
Start with a soft-bristle brush around the suspension arms, shock towers, bumpers, chassis edges, and wheel wells. Work from the top of the car downward so loosened dirt does not fall back onto cleaned areas. [1][3]
Use a smaller detailing brush near the steering links, spur gear cover, driveshaft cups, and shock shafts. Keep the brush gentle around seals and wiring, because forcing mud past a seal creates the wear you are trying to prevent. [2][11]
Avoid metal picks, stiff wire brushes, and anything that can scratch plastic or cut wire insulation. A scratched surface holds more dirt, while damaged wiring can turn a muddy cleanup into an electronics repair. [2][5]
Do not scrub the motor vents with a wet brush. Brush loose debris away from the outside first, then use controlled low-pressure air around the motor area. [2][4]
Remove the wheels for a real cleanup
Take off all four wheels before washing the chassis and tires. Mud builds behind the wheels and around the hexes, axle ends, suspension arms, and steering knuckles where a surface rinse will not reach. [1][3]
Clean each wheel separately with warm water and mild dish soap. Brush the tire tread, wheel face, bead area, and inner wheel cavity, then rinse carefully without aiming water into nearby bearings on the chassis. [1][8]
Check the wheel hexes and axle hardware while the wheels are off. Grit in these areas can create slop, interfere with wheel seating, and accelerate wear every time the suspension cycles. [10][12]
Set the wheels aside to dry before reinstalling them. A clean tire mounted against a wet hub or axle can still carry moisture into the parts you just cleaned. [3][9]
Blow dirt out of the moving parts
Use compressed air or a low-pressure blower to clear loosened dirt from the drivetrain and suspension. Focus on the driveshafts, outdrives, steering bellcranks, hinge-pin areas, shock springs, and chassis recesses. [1][3]
Keep the air pressure controlled. The goal is to lift dirt out, not drive grit farther into bearings, seals, receiver-box joints, or motor openings. [2][5]
Work around the spur gear and pinion carefully. Mud or sand in the gear area can affect gear mesh and wear teeth, so brush and blow debris away before applying any water nearby. [10][11]
Sandy mud deserves extra attention because the sand acts as an abrasive. After cleaning, inspect and lubricate the moving parts it contacted instead of assuming a clean-looking chassis means the grit is gone. [6][11]
Wash the chassis with mild soap and warm water
Use a damp cloth, soft brush, or carefully controlled rinse of warm water with mild dish soap on the chassis, arms, bumpers, and wheels. This is enough for mud, without the plastic damage associated with harsh cleaners. [1][3]
Keep the water away from the ESC, motor, receiver box, servos, and exposed connectors. Water-resistant electronics are not a reason to soak the chassis or direct a hard stream at seals and openings. [2][4]
Never use a pressure washer. High-pressure water can force moisture and grit into bearings, electronics, seals, and joints that would survive a gentle rinse without trouble. [2][4]
Do not submerge the complete car unless its manufacturer explicitly permits it. A wet-looking chassis is manageable, but trapped water inside electronics compartments or bearings causes corrosion and later failures. [4][9]
Keep cleaner away from the electronics
Treat the receiver box, ESC, servo cases, motor, and plugs as protected areas, even if the vehicle is advertised for wet running. Brush around them, wipe nearby surfaces, and keep rinse water directed away from them. [2][5]
Do not spray cleaner directly onto electronic components. Cleaner can carry dissolved dirt into seams and connectors, leaving contamination in places that are difficult to inspect after the outside looks clean. [5][9]
If the receiver box exterior is muddy, wipe it with a lightly dampened microfiber cloth. Check its lid, seal, and wire exits afterward, because those are the places where water can remain trapped. [2][5]
We would not chase a spotless electronics bay with water. Remove visible mud, dry the area thoroughly, and leave deeper disassembly for a case where moisture or dirt has clearly reached inside. [5][9]
Clean connectors and electronics carefully
Use 90 percent or higher isopropyl alcohol on a lightly dampened cloth for electronic surfaces and connectors that need cleaning. Apply it to the cloth first, not directly onto the ESC, receiver, servo, or motor. [5]
Wipe connectors and accessible electronic housings gently, then let them air dry. Alcohol is for controlled cleaning of contamination, not a substitute for drying the whole car after a wet run. [5][9]
Inspect wire insulation, solder joints, and connectors while the area is exposed. Mud can hide a loose plug or rubbed-through wire that becomes a problem only after the next battery is installed. [10][12]
If mud has entered a sealed electronics compartment, clean and dry it before running again. Reconnecting power while moisture remains risks damage that an extra few hours of drying could avoid. [2][5]
Dry the car without cooking it
Start drying immediately with microfiber towels or lint-free rags. Blot water from the chassis, suspension arms, shock towers, wheel hubs, and electronics surroundings instead of rubbing grit across plastic surfaces. [1][3]
Follow with compressed air or a low-pressure blower around bearings, driveshafts, screws, suspension pivots, and chassis pockets. Air is especially helpful where a towel cannot reach, including around steering hardware and outdrives. [3][9]
Then leave the car in a well-ventilated area for several hours before reassembly or the next run. No single safe drying time applies to every chassis, so inspect for remaining moisture rather than relying on a clock. [3][6]
Skip hair dryers, heat guns, and other direct heat sources. Forced heat can harm plastics and electronics, while air drying removes moisture without adding another risk to the cleanup. [2][4]
Inspect the parts that mud wears out first
Check the bearings after the car is dry. Spin each wheel and drivetrain component by hand, listening and feeling for roughness, binding, or play that points to grit or moisture inside. [11][12]
Inspect driveshafts, outdrives, steering links, hinge pins, and suspension arms for cracks, bending, or unusual slop. Mud often hides impact damage from the run, especially after the chassis has been rinsed clean. [10][12]
Look at shock shafts and seals for dirt and leaks. Mud around the shaft can damage the seal during suspension movement, and a leaking shock changes handling long before a broken part stops the car. [11][12]
Check the gear mesh and the spur and pinion teeth after muddy running. Dirt in that area can accelerate wear, so correct a contaminated or damaged geartrain before installing a fresh battery. [10][11]
Lubricate after everything is dry
Lubricate bearings, driveshafts, and suspension components only after the car is fully dry. Lubricant applied over moisture or remaining dirt can trap contamination against the parts you are trying to protect. [3][11]
Use the lubricant recommended for your vehicle where the manufacturer specifies one. Silicone-based sprays may be used to protect plastic parts, but keep any spray controlled and away from electronics, tires, and braking surfaces. [3][6]
Do not over-lubricate. Excess lubricant collects dust and sand, turning a protected moving joint into a gritty paste after the next run. [11]
This is where we would spend time after a sandy mud session. Cleaning the shell quickly is cosmetic, while restoring smooth, protected movement in bearings and driveline parts prevents the expensive wear. [6][11]
Reassemble only after the moisture check
Before refitting the wheels and body, inspect the chassis for wet recesses, water under straps, damp connectors, and moisture around the receiver box. Reassembly can hide water that would have been easy to remove. [2][9]
Install the wheels only when the hubs, axles, and wheel interiors are dry. Confirm that each wheel spins freely and that no mud remains around the hexes or steering knuckles. [3][10]
Refit the body shell after the mechanical and electronic checks are complete. A clean shell can make the car look finished, but it should be the last part back on, not proof that the chassis is ready. [1][12]
Reconnect the battery only when every cleaned area is dry and inspected. That final pause is cheap insurance against powering wet electronics or running grit through a freshly cleaned drivetrain. [2][5]
Set a service schedule from the conditions
Clean, dry, and inspect the car after every muddy run. Wet dirt, clay, and sand all carry contamination into parts that may look fine until corrosion, rough bearings, or drivetrain wear appears later. [9][10]
Every few runs, check bearings, gear mesh, and shock oil condition. These are normal maintenance points, but muddy running gives you a reason to inspect them sooner when the car has been exposed to grit and water. [3][11]
Plan differential rebuilding and oil replacement about every five to 10 runs as a general maintenance interval. Conditions and driving style can shorten that interval, so use drivetrain feel and inspection results alongside the count. [3][11]
Hot, humid conditions accelerate corrosion and call for more frequent attention. Cold, wet conditions demand the same drying discipline, plus lubricants suited to low temperatures where applicable. [6][9]
Frequently Asked Questions
How do I clean my RC car after running through mud without damaging electronics?
First, remove the battery and body shell to access the chassis and protect electronics. Keep water and cleaning solutions away from the ESC, receiver box, servos, and motor. Use mild soapy water with soft brushes and avoid soaking or spraying water directly on electronic components. Dry the car thoroughly before reassembling.
What is the best method to remove mud from an RC car?
For heavy clay mud, let it dry slightly until it can be brushed off in chunks to avoid turning it into abrasive paste. For ordinary wet mud, start cleaning soon after the run while the mud is still soft and removable. Use soft-bristle brushes, low-pressure air, and microfiber towels with mild dish soap to clean the chassis and wheels.
When should I clean heavy clay mud off my RC car?
Heavy clay mud should be allowed to dry slightly before brushing it off to prevent pushing grit deeper into moving parts. However, do not leave mud on the car for days because dried mud becomes much harder to remove and can cause wear. Clean ordinary wet mud as soon as possible after the run.
How do I protect the battery and electronics when cleaning an RC car after mudding?
Always remove the battery before cleaning and store it separately in a dry place. Wipe the battery connectors and case with a dry microfiber cloth if mud is present. Avoid getting water or cleaners near the ESC, receiver box, servos, and motor, and never clean the car with the battery installed.
What tools and cleaners are safe for cleaning an RC car after mud?
Use soft-bristle or detailing brushes, microfiber cloths, low-pressure air blowers, and mild dish soap or plastic-safe cleaners. Avoid pressure washers, harsh degreasers, and direct heat sources. Isopropyl alcohol (90%+) can be used sparingly on electronics with a lightly dampened cloth but should not be applied directly.
How we researched this
This article was assembled from 12 cited references.
Nothing here is based on hands-on testing. Where a figure or finding appears, it belongs to the source cited beside it, and the writing says so rather than implying otherwise. Every source is listed below so you can check it.
Sources
- How to Clean RC Car After Mud: A Practical Step-by-Step Guide -
- How To Clean An RC Car After Mud Without Ruining The Electronics
- How to Clean Your RC Car: Complete Maintenance Guide - RC Tech Tips
- How To Wash RC Trucks & Cars Without Damaging Electronics, RaceNRCs
- How to Clean RC Car Electronics Safely and Effectively
- RC Car Maintenance Guide Philippines 2026, DIY Tips for Philippine Conditions | RCPinas, RCPinas.com
- RC Scaler Maintenance Guide: How to Keep Your Rig Trail-Ready - .: Esek RC :.
- RC Racing Car Maintenance Guide: Cleaning, Battery & Tire Care | VRX Racing
- After a Wet, Muddy or Snowy Run: Stopping the Damage That…
- RC Car Maintenance Checklist After Every Run | RCCarCalc
- RC Car Maintenance: Cleaning, Bearings and Diffs
- RC Car Maintenance Checklist: What to Check After Every Run, Hobbyco
Related Articles
How to Clean RC Car Parts: Safe and Effective Methods
Learn how to clean RC car parts safely with tips on brushes, cleaners, and electronics care to keep your car running smoothly.
RC Car Tire Maintenance: How to Clean and Extend Tire Life
Learn effective RC car tire maintenance tips to clean, dry, and care for your tires to extend their lifespan and improve performance.
How to Clean RC Car Electronics Safely and Effectively
Learn how to clean RC car electronics safely with step-by-step tips to protect your ESC, receiver, and connectors from damage.
Prepare RC Car for Rainy Conditions
Learn how to prepare your RC car for rainy conditions with waterproofing tips, battery safety, tire choice, and post-run maintenance.