
How to Tune RC Car Suspension for Better Handling
Learn how to tune your RC car suspension for improved handling with practical steps and tips for better performance on various terrains.
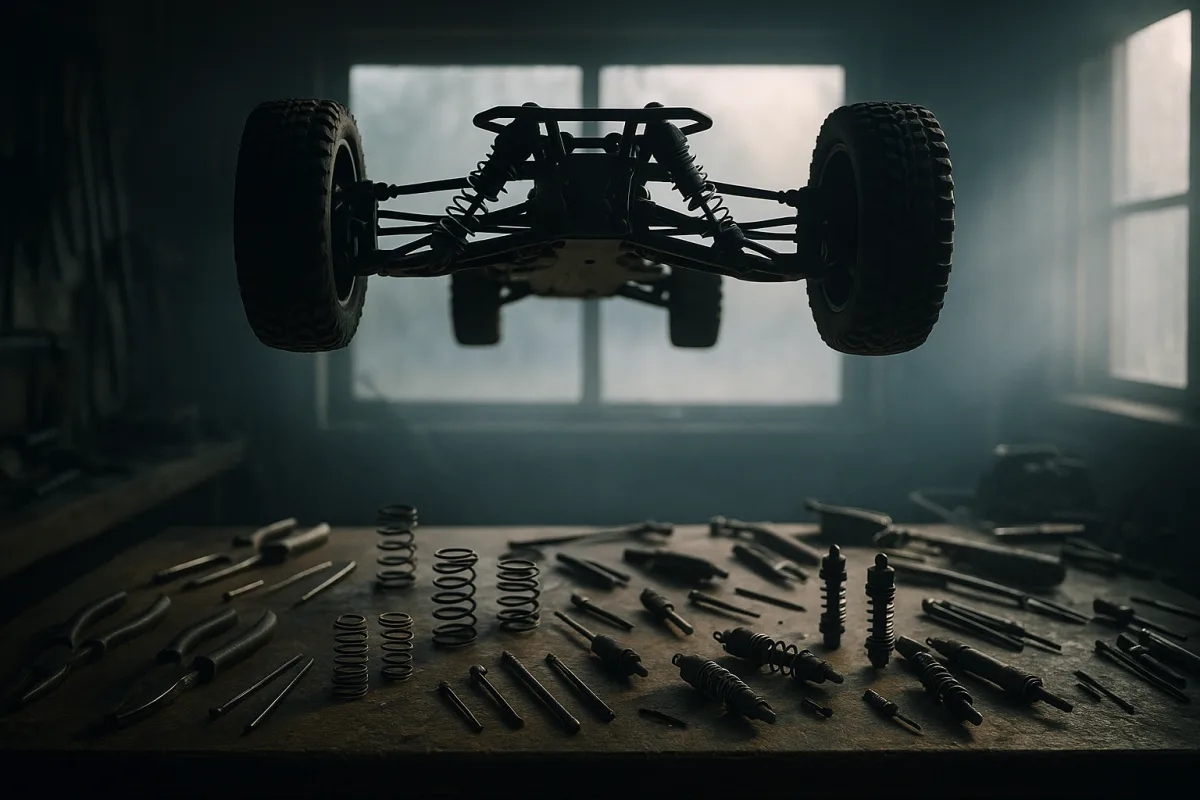
Tuning RC Car Suspension for Improved Handling
As an RC racer who spends weekends wrenching on my cars and racing them through dirt and muck, I can tell you that tuning your suspension is one of the most critical aspects of getting the handling just right. Whether you're bashing with a monster truck or racing a 1/10 buggy, how your suspension is set up can make or break your performance on the track or at the park. This guide will walk you through the most common suspension problems you’ll face and how to address them with specific, actionable steps.
Identifying Common Suspension Problems
Before diving into tuning, it's essential to recognize the handling issues you might encounter:
Too Much Bounce: If your car seems to bounce excessively after hitting bumps or jumps, your damping might be too soft.
Lack of Traction: If your car slides around corners or feels unstable, your suspension setup may need adjustments to camber, spring rates, or ride height.
Bottoming Out: If your car's chassis is regularly hitting the ground during jumps, your suspension might be too soft or set at an incorrect ride height.
Poor Cornering Performance: If your car understeers or oversteers excessively, it could be due to improper camber angles or spring rates that don’t match your vehicle’s weight distribution.
Step 1: Adjusting Ride Height
The ride height of your RC car significantly influences its handling. To adjust it, you'll need a ride height gauge and possibly a digital caliper for precision.
- Recommended Ride Heights: For off-road vehicles, aim for a ride height between 25mm to 35mm. For on-road vehicles, the typical range is 3.8mm to 8mm. Keep in mind that these are general guidelines and may need fine-tuning based on your specific vehicle and conditions.
- Measure the current ride height using your gauge.
- If needed, adjust the shock collars or spring preload to raise or lower the chassis.
- After adjustments, take your vehicle for a test run. Check how it handles over jumps and rough terrain.
Step 2: Fine-Tuning Shock Oil
Shock oil weight can dramatically affect your vehicle's handling characteristics.
General Guidelines: Heavier oil (higher viscosity) is typically used for smoother terrains, while lighter oil (lower viscosity) can provide better response on rough surfaces. However, the exact weight can vary significantly between different vehicles and conditions.
Specific Recommendations:
- For Monster Trucks, a commonly referenced weight is 33wt shock oil, which offers a good balance between damping and responsiveness.
- For 1/8 Scale Buggies, a setup of 35wt in the front and 30wt in the rear is a solid starting point.
To change the shock oil:
- Remove the shocks from the vehicle.
- Disassemble them according to your vehicle's manual.
- Drain the old oil and refill with the new weight.
- Reassemble and reattach the shocks, ensuring they move freely.
Step 3: Adjusting Spring Rates
The spring rates you choose can significantly impact traction and handling.
- Soft vs. Stiff Springs: Softer springs generally provide better traction on rough terrain, while stiffer springs are better for flat, on-road conditions.
- Assess the weight of your vehicle and consider the type of terrain you'll be racing on.
- Experimenting with different spring rates is essential; many racers suggest starting with medium springs and adjusting based on performance.
- Replace the springs and test drive, observing how the car behaves over different surfaces.
Step 4: Setting Camber Angles
Camber angle can improve cornering performance significantly.
- General Recommendations: Negative camber is usually beneficial for improved cornering grip. However, the ideal angle will depend on your vehicle type and track conditions.
- Using a camber gauge, measure the current camber angle of your wheels.
- Adjust the camber by changing the length of the turnbuckle or adjusting the upper mounting points.
- Aim for a slight negative camber (around -1 to -2 degrees) for better cornering stability.
Step 5: Fine-Tuning Damping Settings
Damping settings directly affect how quickly your suspension responds to bumps and jumps.
- Common Mistakes: Incorrect damping settings can lead to poor handling. If you find your car bounces too much or feels sluggish, it’s time to adjust your damping settings.
- Start by adjusting the pistons in the shocks. Consider using pistons with different hole sizes to see how they affect performance.
- Test your vehicle after each adjustment to find the sweet spot for your specific driving style.
Step 6: Testing and Iterating
One of the most crucial aspects of suspension tuning is testing and iterating. After making adjustments, ensure to take your vehicle for a test drive to assess its performance.
Testing Conditions: Try to run your car on the same terrain and under similar conditions that you expect to race in. Use a consistent course for better comparisons.
Document Changes: Keep a log of the changes you make and how they affect performance. This helps you understand which adjustments lead to improvements and which do not.
Conclusion
Tuning your RC car's suspension is less about expensive upgrades and more about understanding how your specific setup interacts with the terrain and your driving style. Most handling issues stem from setup rather than parts, and with careful tuning, you can achieve a significant improvement in performance. Remember, the right shock oil, spring rates, ride height, and camber settings can transform your car’s handling, making it more responsive and better suited for whatever racing or bashing adventures you embark on.
Happy racing and remember that the right setup is often a journey of trial and adjustment!
Frequently Asked Questions
How do I adjust the ride height on my RC car?
To adjust the ride height, you'll need a ride height gauge and possibly a digital caliper for precision. Measure the current ride height and then adjust the shock collars or spring preload to raise or lower the chassis. After making adjustments, test the vehicle to see how it handles over jumps and rough terrain.
What is the best shock oil weight for RC cars?
The optimal shock oil weight varies significantly based on vehicle type and driving conditions. For Monster Trucks, a commonly recommended weight is 33wt, while 1/8 Scale Buggies typically use 35wt in the front and 30wt in the rear. However, it is important to experiment to find the best fit for your specific setup.
How can I improve cornering performance on my RC car?
Improving cornering performance can be achieved by adjusting the camber angles of your wheels. A slight negative camber angle (around -1 to -2 degrees) is generally recommended for better grip during cornering. Use a camber gauge to measure and adjust the angle as needed.
What are common suspension problems in RC cars?
Common suspension problems include excessive bounce, lack of traction, bottoming out, and poor cornering performance. Each issue can stem from factors such as incorrect damping settings, inappropriate spring rates, or improper camber angles, all of which can be adjusted for improved handling.
Sources
- Shock oil weights - RCU Forums
- Which Shock Oil weight? - RCU Forums
- Traxxas RC Suspension Tuning Guide: Part 2 Shock Absorbers
- Can you please explain shock oil to me! - RCU Forums
- Red RC » Hudy Ultra-Fine Ride-height Gauge
- Red RC » Core RC combined camber & ride height gauge
- What is the proper way of measuring ride height? - RCU Forums
- RC Crawler Suspension Tuning Guide
- RC Tuning Expert, Setup Building Method
- What Is Camber on an RC Car? Setup & Tuning Guide | So Dialed
- RC Drift Setup Guide: Camber, Toe, Ride Height & Tuning Explained (2026) | RC Cars Guide
- CAMBER, or the wheel angle in RC cars 🚗 How to SET it, what does it do? Suspension adjustment
- RC Car Shock Oil Weight Guide | Speed World Raceway
- The ideal oil for your RC shock absorbers: stability and performance
- Powerhobby Camber/ Toe / Steering/ Caster Measurement Setup Tool Syste, | PowerHobby
- Powerhobby Camber/ Toe / Steering/ Caster Chassis Setup System 1/24 1/28 | PowerHobby
- Powerhobby Camber/ Toe / Steering/ Caster Chassis Setup System 1/24 1/28 | PowerHobby
- TW:MC-10H-1.80, Knurled Handle Torque Screwdriver | Ruland
- EDS 181009 Quick Downstop Gauge Tool Precision Setup Gauge 1.0 to 6.5mm
- RPM Black Toe-In Gauge Suspension Tool - 1/10 RC Car Setup
- MR33-CDGV2 MR33 Circle Droop Gauge V2 - Michael's RC Hobbies
- MR33 Circle Droop Gauge 2.0 Precision RC Suspension Setup Tool 4.0 to 6.6mm, DigitalRc.ca
- RC Car Suspension Tuning Guide, Shocks, Springs, Camber & More | MinutesofThunder
- RC Car Suspension Tuning Guide for Better Handling | Speed World Raceway
- What Is an RC Car Suspension System? Types, Benefits & Tuning Tips
Related Articles
Prevent RC Car from Flipping: Setup and Tuning Tips
Learn how to prevent RC car from flipping with setup tips on ride height, suspension, weight distribution, and driving techniques for better stability.
How to Replace RC Car Parts: A Step-by-Step Guide
Learn how to replace RC car parts safely and correctly with this step-by-step guide covering tools, part compatibility, and preparation tips.

Beginner RC Car Comparison Under 200: Crawler vs Off-Road
Compare beginner RC cars under 200 to find the best crawler or 4WD off-road model with setup and tuning tips for new drivers.
RC Car Weight Distribution Tips for Better Handling
Learn RC car weight distribution tips to balance corner weights, lower center of gravity, and improve handling and stability on various surfaces.