
How to Upgrade RC Car Electronics
Learn how to upgrade RC car electronics with ESC, motor, and battery tips to improve performance and ensure component compatibility.
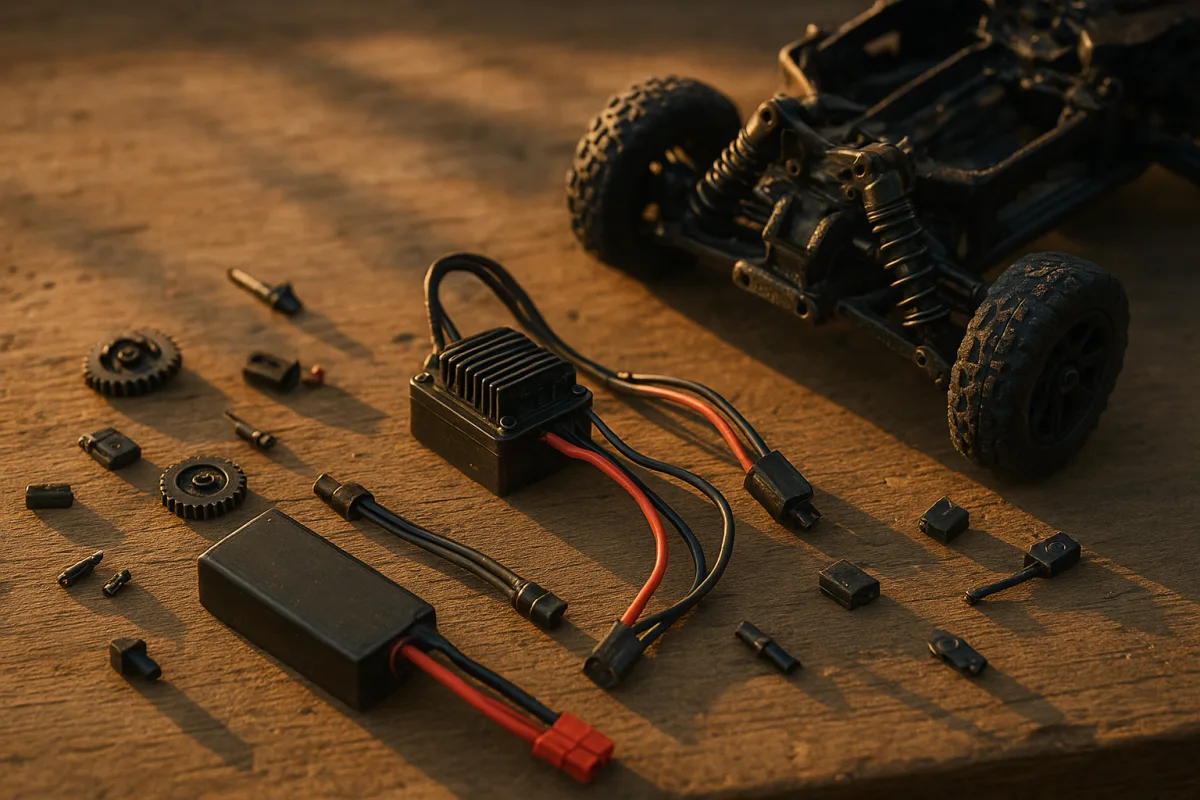
Start with the problem you can feel: weak throttle, cogging or inconsistent punch
Before pulling the electronics tray apart, make sure the radio and ESC are speaking the same language. A lot of cars that feel lazy off the line are not short on motor or battery, they have incorrect throttle endpoints.
Set throttle trim to zero, set throttle EPA or endpoint adjustment to 100 percent, and disable transmitter throttle curves before calibrating the ESC. Goodies RC’s calibration guide identifies those settings as the starting point for a clean full-throttle and full-brake signal. [10]
Then run the ESC’s own calibration sequence exactly as its manufacturer specifies. Do not assume a Castle, Hobbywing, Traxxas or budget generic ESC uses the same trigger procedure. Incorrect calibration can leave you with reduced throttle travel or brakes that come in too early. [10]
Once it is calibrated, adjust brake strength before chasing more motor power. On a loose 1/10 buggy track, excessive brake makes the rear tyres lock and pushes the car wide on entry. On a heavier 1/10 short-course truck, a little more brake may be useful.
Make changes in small steps. Model Press recommends incremental adjustment of brake strength and drag brake for surface conditions, rather than jumping immediately to maximum settings. [11] That is the right approach because stronger brakes can make a car feel faster while actually making lap-to-lap control worse.
Punch control and motor timing come after that. More punch can help a heavy stadium truck clear a jump face, but it also hits the tyres and drivetrain harder. Added timing can increase motor RPM, but it also adds heat, so it is not free speed. [10][15]
When the stock ESC is the bottleneck
An ESC upgrade makes sense when the original unit cannot support the battery voltage, motor type or sustained current your build needs. It does not make sense as a first response to a car that runs hot because the pinion is too large.
For 1/10 electric cars, the established upgrade field includes the Hobbywing EZRun MAX10 G2 in 80A and 140A versions, the Traxxas VXL-3s 3355R, the Castle Copperhead 10, and the Surpass Hobby Rocket RC 60A. These models are generally intended for 2S to 4S LiPo use in 1/10 vehicles. [1][2][3][18]
The Surpass Hobby Rocket RC 60A sits at the budget end of the cited price range, about $49.99, and suits a modest 2S 1/10 setup where you are not asking for huge current reserve. It is not the ESC I would select for a heavy 4WD short-course truck on tall grass. [3]
The Hobbywing EZRun MAX10 G2 80A is also listed around $49.99 and suits ordinary 1/10 buggy, touring-car and lighter basher duty. The 140A MAX10 G2, listed at $89.99, gives more continuous-current headroom for heavier vehicles, taller loads and more demanding motors. [1][3]
The Traxxas VXL-3s 3355R is listed around $69.95 and is the straightforward option for compatible Traxxas 1/10 vehicles running up to 3S. It suits a replacement or like-for-like upgrade where retaining the Traxxas ecosystem matters more than changing connectors or radio equipment. [2][3]
The Castle Copperhead 10 is the premium option in this group, listed around $144.95. It suits a more serious 1/10 performance build, particularly where a sensored system and Castle’s SmartSense-capable Copperhead 10 combo are relevant to the chosen motor. [3][18]
Those are sticker prices for the ESC or, where specified, a combo. They do not include a new motor, battery, soldering equipment, connector changes, a programming device, replacement gearing or any shop installation. The real upgrade cost rises quickly if the existing system is mismatched.
Do not get distracted by peak-amp figures. Listings can quote dramatically different peak ratings, including 520A and 880A, but continuous current is the more useful specification for sustained running. A 140A continuous-rated ESC has more meaningful headroom than a lower-rated unit with a flashy peak number. [1][3]
I have not run every one of these ESCs, and the research brief does not provide controlled thermal or durability testing across them. There is no supported basis for calling one the universal best. Match the ESC to the car’s scale, weight, battery voltage and motor load.
Choose the motor for the vehicle, not the number on the label
KV is motor RPM per volt with no load. A 4000KV motor on a 2S LiPo is not automatically slower than a 3000KV motor on 3S, and neither figure tells you whether the motor is correctly geared. [4]
Lower-KV brushless motors generally provide more torque and are better suited to off-road bashing, heavier trucks and vehicles that spend their time accelerating through dirt, grass or rough ground. Higher-KV motors favor RPM and top-speed-oriented builds. [4][5]
That distinction matters by class. A 1/10 2WD buggy on a prepared dirt track may tolerate a different KV and pinion combination than a 1/10 4WD short-course truck carrying larger tyres and a heavier body. Advice for a light buggy does not transfer directly.
The Castle Copperhead 10 combo cited by Appliance Electronics includes a 7700KV motor. That is a specific high-RPM package, not a universal solution for every 1/10 truck. A 7700KV motor demands careful battery-voltage and gearing choices if heat is to stay under control. [18]
Do not install a higher-KV motor, retain the same oversized pinion, and call the resulting shutdown an ESC problem. Both Usato RC and RC Crash Crew identify mismatched electronics and overgearing as major avoidable routes to overheating and electronic failure. [12][15]
Start conservatively with gearing after a motor change. Run a short test, then check motor and ESC temperature before adding pinion. RC Setup Lab’s temperature guidance supports reducing load and improving cooling rather than assuming a hotter system simply needs more expensive components. [13]
The battery upgrade that actually delivers the current
Once the ESC and motor are appropriate, the battery becomes the next restriction. A tired 2S pack can make a healthy brushless system feel soft, especially when voltage sags under acceleration. But capacity, C-rating, physical size and connector all matter.
The current 2S performance field cited in the brief runs from 4300mAh to 7800mAh and from 50C to 160C. That range includes the Gens Ace 5000mAh 50C, OVONIC 6000mAh 80C, ProTek RC 7800mAh 150C and GAONENG GNB 4300mAh 160C packs. [6][7][8][9]
A Gens Ace 2S 5000mAh 50C pack suits general 1/10 running where sensible runtime and ordinary brushless current demand matter more than absolute punch. An OVONIC 2S 6000mAh 80C hardcase pack suits a longer-running 1/10 basher or short-course truck that can physically accommodate it. [6][7]
The ProTek RC 2S 7800mAh 150C pack suits a high-draw 1/10 application with a large battery tray, but its size and mass can hurt balance in a racing buggy. The GAONENG GNB 2S 4300mAh 160C suits a compact, high-discharge setup where tray fit and punch matter more than runtime. [6][8][9]
Prices for these battery examples vary by retailer and region, so the research does not support a reliable single price for each pack. Check the current listing, then check the pack’s dimensions before ordering. A battery that does not fit is not an upgrade.
For C-rating, use the simple capacity calculation as a sanity check. A 5000mAh pack is 5Ah, so a claimed 50C continuous rating implies 250A. That does not mean your car continuously needs 250A, it means the pack should not be the obvious limiting component.
Deal with connectors before they become the weak link
This is where a Traxxas Slash owner can get caught out. Traxxas iD connectors simplify the charging ecosystem, but they restrict direct compatibility with many third-party packs. Euro RC’s guidance flags the trade-off rather than treating the proprietary connector as automatically better. [17]
An adapter may make a new pack plug in, but it adds another electrical junction. RC Car Action warns that adapters can add resistance in high-current systems, exactly where a 1/10 short-course truck on 3S produces heat and voltage loss. [17]
If you change connector families, do it properly and only if you understand the warranty implications. The brief notes that adapters and soldering can affect performance and may void warranties, while the long-term reliability impact varies by manufacturer and user experience. [17]
Also inspect the receiver connection and physical mounting before buying an ESC. Larger ESCs may not fit a stock tray, and upgraded electronics still need compatible receiver wiring. Installation constraints are documented for vehicles including the Traxxas Slash and Axial SCX10 platform. [16][17]
Keep the new electronics alive
Heat is what turns an exciting upgrade into a dead ESC. Check gear mesh, drivetrain drag and bearing condition before blaming the motor. A binding drivetrain asks the ESC and battery to do work that no programming setting can fix. [13][15]
Season matters too. RC Press and general electronics reliability guidance note that temperature and humidity affect electronic performance and lifespan. Pre-warming batteries in winter and prioritising cooling in summer are sensible maintenance steps, even though the brief found no quantified lifespan benefit. [13][14]
Do not charge or run a cold pack hard and expect full performance. Likewise, do not seal a hot ESC under a body with no airflow after increasing voltage or motor load. Cooling capacity needs to rise with the system’s heat output. [13][14]
Finally, make one change at a time. Fit the ESC, calibrate it, test temperatures and handling, then alter gearing or battery. Most handling and reliability problems are setup problems, not proof that you need the next expensive electronics upgrade.
Frequently Asked Questions
How do I properly calibrate my RC car ESC before upgrading?
Start by setting your transmitter throttle trim to zero, throttle EPA or endpoint adjustment to 100%, and disabling any throttle curves. Then, run the ESC’s own calibration sequence exactly as specified by its manufacturer, since procedures vary by brand. After calibration, adjust brake strength and drag brake incrementally to suit your driving conditions before changing punch control or motor timing.
When should I upgrade the ESC in my RC car?
Upgrade the ESC when the original unit cannot support the battery voltage, motor type, or sustained current your build requires. Avoid upgrading simply because the car runs hot; overheating is often caused by overgearing or mismatched ESC and motor ratings rather than ESC capacity alone.
What ESC continuous current rating do I need for a 1/10 scale RC car?
Choose an ESC with a continuous current rating that matches the motor and vehicle load rather than the highest advertised peak current. For typical 1/10 electric bashers or short-course trucks, ESCs rated around 60A to 140A continuous current are common, with higher ratings providing more headroom for heavier vehicles and demanding motors.
How do I choose a compatible battery for my upgraded RC car electronics?
Confirm that the battery pack fits the vehicle’s battery tray, matches the ESC’s voltage limits, and uses compatible connectors. For example, Traxxas models often use proprietary iD connectors, so upgrading batteries may require careful consideration to avoid compatibility issues or performance loss from adapters.
What are the risks of overgearing when upgrading RC car electronics?
Overgearing can cause excessive heat buildup in the ESC and motor, leading to premature electronic failures. It is a common cause of overheating and should be addressed before upgrading electronics by ensuring the pinion and gearing are appropriate for the motor and ESC ratings.
How we researched this
This article was assembled from 18 cited references.
Nothing here is based on hands-on testing. Where a figure or finding appears, it belongs to the source cited beside it, and the writing says so rather than implying otherwise. Every source is listed below so you can check it.
Sources
- Hobbywing MAX10 RC ESC G2 80A 140A Sensored Brushless ESC 2-4S for 1/10 RC Car | eBay
- Traxxas 3355R VXL-3s Waterproof Brushless ESC / VXL-3S Electric Speed Control | PowerHobby
- Best Esc for RC Cars: Top ESC Choices for 1/10 Scale Models – Cars Techie
- RC Car Motor KV Explained (2026): What KV Means | RCCarCalc
- Brushless RC Cars - RCexplained
- 12 Best RC Lipo Batteries (October 2026) Expert Reviews
- 2 x OVONIC 6000mAh 80C 2S 7.4V Lipo Battery Hardcase with Deans Plug & – Ampow
- RC Car Hard Case Lipo Battery | Durable High-Discharge LiPo Packs – GAONENG
- 8 Best LiPo Batteries for RC Cars (October 2026) Tested Picks
- How to Calibrate RC Car ESC: A Clear Step-by-Step Guide -
- How to Adjust RC Car Brakes for Better Control
- RC Electronics for Beginners: Critical Mistakes to Avoid
- How to Lower RC Car Temperatures | RC Setup Lab
- Does Humidity Affect Electronics? Safe Range Explained
- Why RC Electronics Actually Die: Heat, Gearing, and the…
- R/C Overhaul - ProTek RC 370TBL "Black Label" Servo Upgrade for the Axial SCX10/SCX10 II | RC Newb
- Battery connector adapters vs. swapping: avoiding resistance in high-amp RC packs — RC Car Action
- Castle P-CC010-0166-04 Copperhead 10 ESC Combo – 7700Kv Motor, SmartSense, CRYO-DRIVE
Related Articles
RC Car Parts Compatibility Guide
Learn how to ensure RC car parts compatibility for chassis, electronics, batteries, wheels, and hardware with this detailed compatibility guide.
Upgrade RC Car Speed Controller: How to Choose and Install
Learn how to upgrade your RC car speed controller with tips on matching ESC to motor, battery, and calibration for better performance.
How to Set Up RC Car for Beginners: Complete Starter Guide
Learn how to set up your RC car for beginners with tips on battery, tires, suspension, and motor for a smooth first drive.
Prepare RC Car for Rainy Conditions
Learn how to prepare your RC car for rainy conditions with waterproofing tips, battery safety, tire choice, and post-run maintenance.